
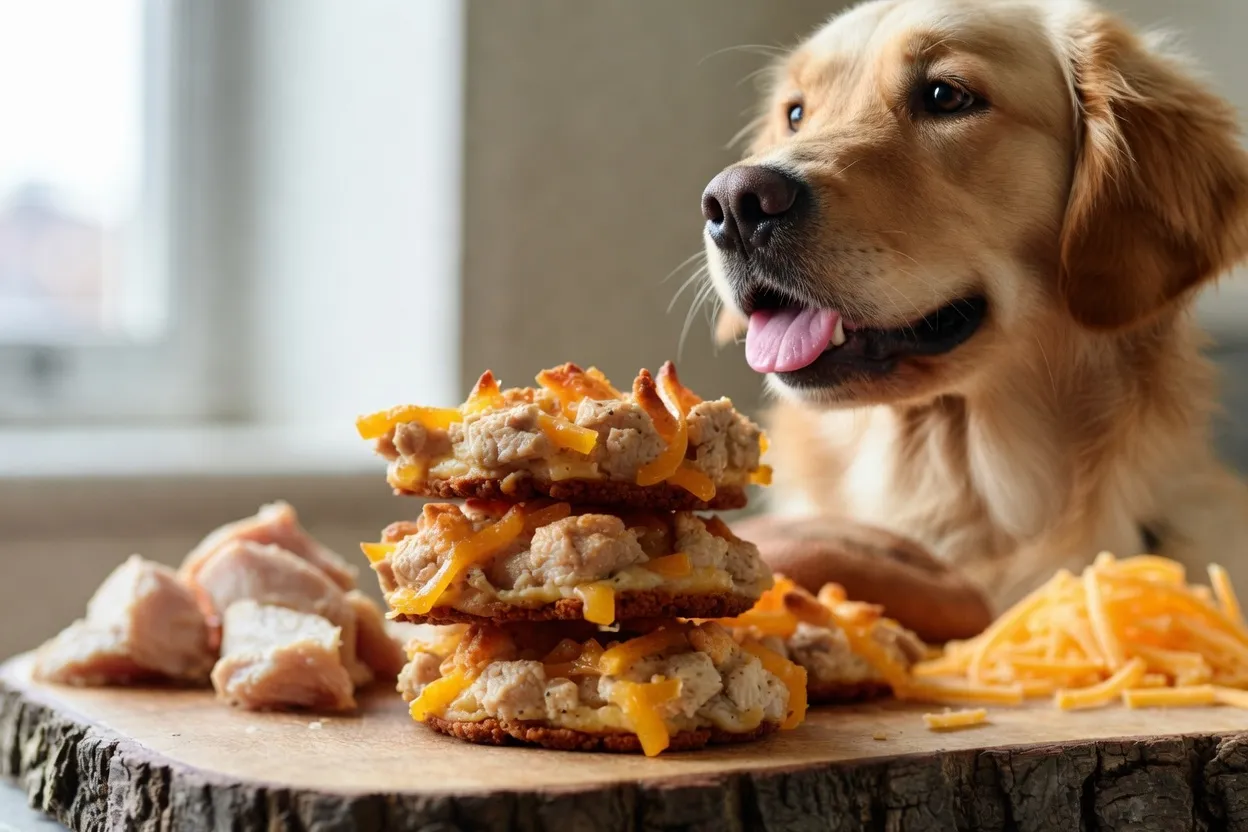
Cheesy Chicken Dog Biscuits: Easy Homemade Recipe for Dogs
There’s nothing like a wagging tail when you come home. Your pet brings so much joy. Preparing snacks in your own kitchen lets you control what they eat.

Making treats yourself is rewarding. It makes your bond stronger. You avoid bad stuff in store-bought treats. Quality control is the ultimate act of care for your loyal partner.
This guide has an easy homemade recipe for beginners. You’ll make Cheesy Chicken Dog Biscuits in no time. Your pup will love these healthy treats.
Why Homemade Treats Are Better for Your Dog
Many pet owners are finding that making dog treats at home is key. It lets you control what your dog eats. This simple change can make your pet happier and healthier.
Understanding the Benefits of DIY Pet Snacks
Making your own pet snacks means you can pick the best ingredients. You can choose fresh, healthy stuff that boosts energy and digestion. With diy dog biscuits, your dog gets good food, not just empty calories.
Avoiding Hidden Additives in Store-Bought Treats
Store-bought dog treats often have bad stuff hidden in them. They might have too much salt, artificial colors, or chemicals. Keeping your dog safe from these bad ingredients is a big plus of baking at home.
The Joy of Baking for Your Furry Friend
Baking treats is also a great way to bond with your pet. It’s rewarding to know you made something healthy and tasty. Sharing these homemade treats makes your bond stronger and every moment special.
Essential Ingredients for Cheesy Chicken Dog Biscuits | Easy Homemade Recipe
Start your baking journey with top-notch ingredients for your dog’s health. Making cheesy chicken dog biscuits at home lets you control what your pet eats. Use fresh, whole foods for nutritious bites, not fillers.

Selecting High-Quality Chicken Sources
Great treats start with lean, quality protein. Pick fresh chicken breast or tenderloin for muscle health.
- Choose organic or free-range chicken when possible.
- Ensure the meat is free from added sodium or seasonings.
- Remove all skin and excess fat before cooking.
- Verify that the chicken is fully cooked to prevent foodborne illness.
Choosing the Right Cheese for Canine Digestion
Cheese is tasty for dogs but must be chosen wisely. Opt for naturally lower-lactose varieties to avoid upset stomachs.
Harder cheeses like cheddar or parmesan are better than soft ones. Start with small amounts to see your dog’s reaction. The right cheese makes healthy dog biscuits safe and tasty.
Flour Alternatives for Sensitive Stomachs
Traditional recipes often use wheat flour, which can upset some dogs. For sensitive stomachs, try grain-free alternatives.
These options are gentle on the stomach and add texture:
- Oat flour: Rich in fiber, easy to digest.
- Coconut flour: Gluten-free, adds healthy fats.
- Chickpea flour: Packed with protein for energy.
- Almond flour: Nutrient-rich, safe for dogs without nut allergies.
Choosing quality ingredients makes your healthy dog biscuits a treat to be proud of. The right ingredients are key to your homemade cheesy chicken dog biscuits.
Safety First: Ingredients to Avoid in Homemade Dog Treats
Making safe homemade dog treats needs more than just baking skills. It also requires knowing a lot about what dogs can eat. You want to make your pet happy, but you must watch what you add to your recipes. A wrong choice can hurt your pet’s health a lot.
Identifying Toxic Foods for Dogs
Many foods that are okay for us can be bad for dogs. You should not use these in your dog-friendly recipes:
- Onions and Garlic: They can harm a dog’s blood and cause anemia.
- Grapes and Raisins: Even a little can cause sudden kidney failure.
- Chocolate: It has theobromine, which is very bad for a dog’s heart and nerves.
- Macadamia Nuts: They can make a dog weak, shake, and get too hot.
Why Xylitol and Certain Spices Are Dangerous
Some things seem safe but are not. Xylitol, found in peanut butter and sugar-free snacks, is very dangerous. It makes dogs’ blood sugar drop too low and can hurt their liver.
Also, be careful with spices. While a little cinnamon is okay, nutmeg can make dogs hallucinate and have a fast heart rate. Always check your ingredients to make sure they don’t have things that can hurt your dog.
Consulting Your Veterinarian Before Changing Diets
Before adding new homemade dog treats to your pet’s diet, talk to your vet. This is very important if your dog has health problems like diabetes or allergies. Your vet can help make sure your dog-friendly recipes are right for your pet.
Knowing about these dangers makes baking treats safe and fun. When you focus on safety, you can make healthy snacks for your pet without worry.
Gathering Your Baking Equipment
Setting up your workspace right makes baking easier. Before making diy dog biscuits, get all your kitchen tools ready. This helps you focus on making healthy snacks for your pet.

Must-Have Kitchen Tools for Dog Treat Baking
You don’t need fancy equipment to bake great snacks at home. A few basic tools will help you work the dough well and keep your kitchen clean. Keep these essentials ready:
- Large mixing bowls for combining wet and dry ingredients.
- A sturdy silicone spatula to scrape every bit of dough from the bowl.
- A rolling pin to achieve the perfect thickness for your simple dog treats.
- Measuring cups and spoons for precise ingredient ratios.
Choosing Safe Cookie Cutters and Baking Sheets
The tools you pick affect your biscuits’ look and feel. Use safe cookie cutters to make fun shapes your dog will love. Always ensure your cutters are clean and free of rust before use.
Non-stick baking sheets are best for baking. They stop the dough from sticking, making baking easier and fun. If you don’t have non-stick pans, parchment paper works well too.
Sanitization Tips for Pet Food Preparation
Keeping your kitchen clean is key when making food for your pet. You must avoid mixing human and pet food areas to stay safe. Always wash your hands thoroughly before and after handling ingredients.
Wipe down your countertops with a pet-safe cleaner before starting. Make sure all bowls and utensils are washed in hot, soapy water after baking. These steps keep your kitchen safe for everyone.
Preparing the Chicken and Cheese Base
The secret to tasty cheesy chicken dog biscuits is in the protein and dairy. Making your own homemade pet food means you control the quality. How you process these ingredients matters a lot.

Cooking and Shredding Chicken Properly
Always cook your chicken well before using it. It’s key to boil or bake it without any added seasonings. Seasonings like salt, garlic, or onion powder can harm your pet.
After cooking and cooling, shred the chicken finely. Fine shredding makes sure the protein is spread out evenly. This gives every bite a consistent flavor.
Selecting the Best Cheese Varieties
Picking the right cheese is crucial. Choose mild, low-sodium cheddar or mozzarella. These cheeses melt well and taste great to dogs.
By picking high-quality, low-sodium options, you keep your homemade food healthy. It’s a treat, not a guilty pleasure.
Mixing Techniques for the Perfect Dough Consistency
Getting the dough right is the last step. You want it firm enough to roll out easily. This makes shaping your cheesy chicken dog biscuits a breeze.
If it’s too dry, add a bit of water or broth. Too sticky? A little flour will fix it. This makes cutting your biscuits into fun shapes easy.
Step-by-Step Baking Instructions
To get the perfect crunch in your dog treats, learn the baking process. This easy homemade recipe helps make sure every batch is tasty for your pet.
Preheating and Preparing Your Workspace
Clear your counter before starting. Heat your oven to the exact temperature in your recipe. Consistent heat is key for the right texture.
Have your baking sheets and parchment paper ready. A clean workspace lets you focus on making dog-friendly recipes without distractions.
Rolling Out the Dough to the Right Thickness
Flatten the dough with a rolling pin to a quarter-inch thickness. This ensures even baking and prevents burnt edges.
If the dough is too sticky, add a bit of flour. Keeping the dough the same thickness is important for great, easy homemade recipe results.
Baking Times and Temperature Guidelines
Put your shapes on a lined baking sheet, leaving space for air. Watch the oven closely to avoid over-browning.
Here are key tips for the best dog-friendly recipes:
- Always use a timer to prevent burning.
- Rotate your baking sheets halfway for even heat.
- Check for a firm, golden-brown bottom.
- Let the oven fully preheat before baking.
By following these tips, you’ll make treats your dog will love. Proper baking gives them a crunchy texture that makes them a favorite reward.
Cooling and Storing Your Homemade Dog Biscuits
Now that your kitchen smells amazing, let’s focus on cooling and storing those dog treats correctly. Taking these final steps ensures that your hard work results in a snack your pup will absolutely love.
The Importance of Proper Cooling for Texture
Once you remove the tray from the oven, resist the urge to serve them immediately. Allowing your biscuits to cool completely on a wire rack is essential for achieving that perfect, satisfying crunch.
Proper airflow underneath the biscuits prevents moisture buildup. If you store them while they are still warm, trapped steam can lead to soft spots or even mold, which ruins your homemade pet food.
Best Practices for Airtight Storage
After the biscuits reach room temperature, you must choose the right container. An airtight glass jar or a BPA-free plastic container works best to lock in freshness.
Make sure the lid seals tightly to keep humidity out. Keeping air away from the biscuits helps maintain their crisp texture for a much longer period.
Shelf Life and Refrigeration Tips
Because these snacks lack the chemical preservatives found in commercial products, they have a shorter shelf life. You should generally consume them within one to two weeks if kept in a cool, dry pantry.
If your recipe uses fresh chicken or high-moisture ingredients, refrigeration is a smart choice to extend their life. Always check your dog treats for any signs of spoilage before offering them to your furry friend to ensure their safety.
Customizing Your Recipe for Picky Eaters
Every dog has its own taste. Sometimes, they need something special in their snack bowl. If your dog doesn’t like regular snacks, try making homemade dog treats yourself. Making treats that your dog loves makes snack time fun for both of you.
Adding Healthy Vegetables for Extra Nutrition
Make healthy dog biscuits more interesting by adding dog-safe veggies. Chopped carrots or steamed peas add crunch and vitamins. Your dog will love the change in their snacks, and you’ll know they’re healthy.
Incorporating Herbs for Flavor and Health
Adding fresh herbs like parsley can make your treats taste better. Herbs also help keep your dog’s breath fresh. Make sure the herbs you use are safe for dogs before adding them.
Adjusting Texture for Senior Dogs or Puppies
Change the texture of your homemade dog treats for different dogs. For older dogs or puppies, bake them a bit less. This makes them softer and easier to chew. Every dog can enjoy these healthy dog biscuits safely and comfortably.
Troubleshooting Common Baking Issues
Even the most experienced bakers face problems when making simple dog treats. Don’t worry if your first batch doesn’t look perfect. Most problems are small and can be fixed with a few tweaks.
Fixing Dough That Is Too Sticky or Too Dry
If your dough is too sticky, add a bit more flour. Sprinkle flour on your surface and mix it into the dough. This will make it easier to work with. But don’t add too much flour to keep the treats soft.
If the dough is too dry and falls apart, add water slowly. Start with one teaspoon at a time. This helps the ingredients stick together without losing flavor. Getting the right mix takes practice.
Ensuring Even Baking Across the Batch
To get treats that are all the same, make sure the dough is the same thickness everywhere. If some are thinner, they’ll burn before the thicker ones are done. Use a rolling pin with guides to keep it even.
Also, space your treats evenly on the baking sheet. This lets the heat reach each one the same way. Check the oven halfway through to rotate the sheet if needed.
What to Do If Your Dog Is Not Interested
Even great recipes might not win over a picky dog at first. If your dog doesn’t like the treats, try more cheese and less chicken. Cheese’s stronger smell can make these pet snacks more appealing.
Try warming the treats a bit before giving them to your dog. This releases more smell. Remember, solving these small problems will make you a better baker for your pet. With patience, you’ll find the perfect recipe your dog will love.
Conclusion
Making your own cheesy chicken dog biscuits makes snack time special. You now know how to make treats that are good for your pet.
Your kitchen is where you can bond with your pet. Every batch you make shows you care about their health.
Share your favorite dog biscuit recipes with others. Seeing your dog enjoy a treat you made is very rewarding.
Try new flavors and healthy ingredients to keep your dog happy. Start your pet baking journey with these easy steps.
Enjoy making treats for your furry friend. Happy baking to you and your best friend.


