
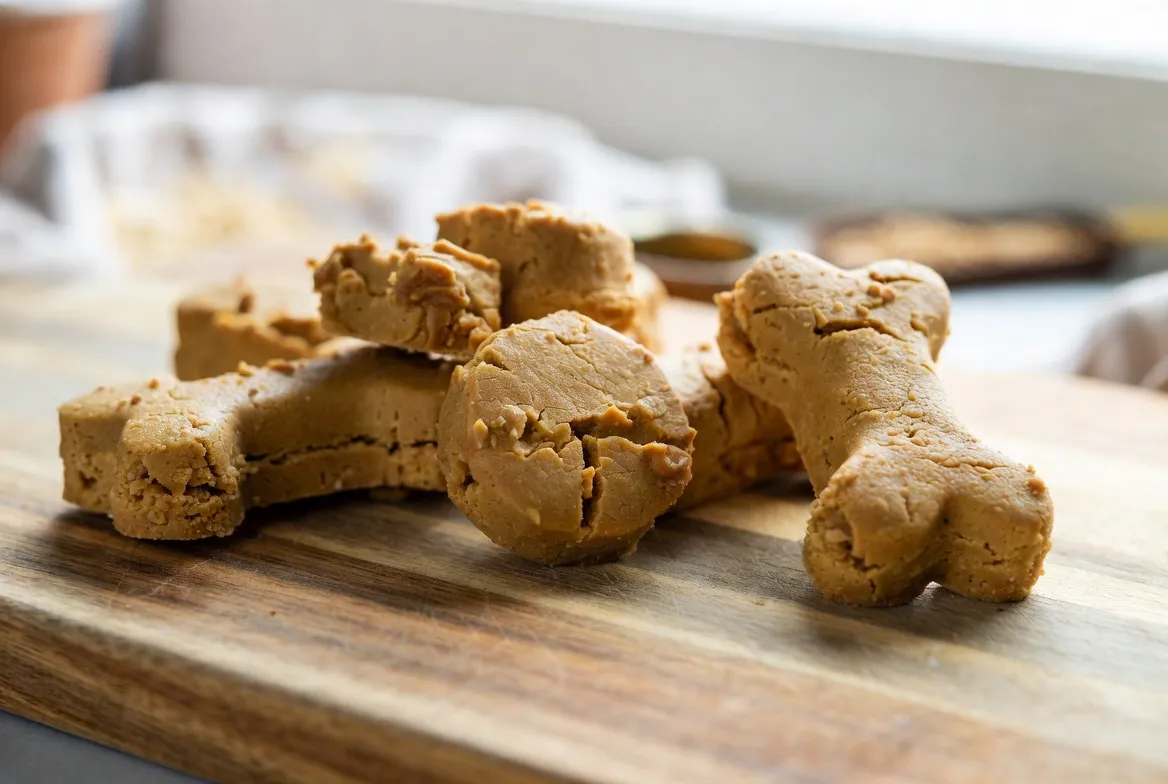
Homemade 4 Ingredient Dog Treats with Peanut Butter
Watching your dog wag their tail for a snack is special. You might want to give them something better than store-bought treats. Making 4 Ingredient Dog Treats with Peanut Butter at home lets you control what they eat.

Baking for your furry friend is a loving act. You pick the best ingredients for their health and happiness. Making these treats is easy and very rewarding.
This guide makes making treats for your dog easy. You’ll turn simple ingredients into treats your dog will love. You’ll see how easy it is to make a big difference in your dog’s life.
Why Homemade Treats Matter
Starting your dog’s nutrition journey in your kitchen is key. Making snacks yourself means you control every ingredient. This way, your dog avoids harmful fillers and preservatives found in store-bought treats.
The Benefits of Controlling Your Dog’s Diet
Commercial snacks often have additives that don’t add nutritional value. Choosing easy homemade dog treats gives your pet real, healthy ingredients. This is crucial for your dog’s health and keeping them vibrant and full of energy.
Bonding Through Homemade Baking
Baking treats is more than just feeding your pet. It’s a chance to bond and make your dog happy. Making simple dog treat recipes turns baking into a fun, shared activity your dog will love.
Cost-Effectiveness of DIY Dog Treats
Many pet owners find baking at home cheaper than buying premium treats. Buying pantry staples in bulk saves money. Making simple dog treat recipes means better nutrition for your dog without breaking the bank.
Choosing to make easy homemade dog treats is a smart choice for your pet’s health. You know what your dog eats and enjoy making something special for them. It’s a healthy, rewarding habit for any pet owner.
Essential Ingredients for 4 Ingredient Dog Treats with Peanut Butter
Making snacks for your dog is easy with just four simple ingredients. When you make 4 ingredient dog treats with peanut butter, the quality of your ingredients matters a lot. The right ingredients make sure every treat is safe and healthy for your pet.
Selecting the Right Peanut Butter
The peanut butter is the main ingredient in your recipe. Look for natural, unsalted varieties that only have roasted peanuts. Stay away from peanut butters with added sugars, salt, or hydrogenated oils. These are not good for your dog.

When you read labels, watch out for xylitol. This sweetener is highly toxic to dogs and can cause serious health problems. Always check the ingredients list carefully to avoid any danger for your pet.
Choosing High-Quality Flour Options
The flour is what gives your healthy dog treats their shape. You can pick from different types based on your dog’s needs:
- Whole wheat flour for a fiber-rich treat.
- Oat flour for a gluten-free option.
- Coconut flour for a grain-free choice.
- Brown rice flour for sensitive stomachs.
The Role of Eggs as a Binder
Eggs are what hold your dough together. They also add protein and healthy fats. Using a fresh egg helps your treats keep their shape and adds a nice crunch.
Adding Healthy Liquid Components
At times, your dough might need a bit more moisture. You can add small amounts of liquid to get the right texture. Here are some healthy options:
- Filtered water for a simple base.
- Low-sodium chicken or beef broth for flavor.
- Unsweetened applesauce for a hint of sweetness.
- Pumpkin puree for better digestion.
Safety Guidelines and Peanut Butter Selection
Before you start baking, make sure your pet is safe. Making peanut butter dog treats at home is a great way to show love. But you need to be careful with what you use.
Reading Labels for Hidden Additives
Not all peanut butters are safe for dogs. Some have toxic ingredients. Always check the labels to avoid these dangers.
Watch out for these bad ingredients:
- Xylitol: This sweetener is very dangerous and can be deadly to dogs.
- Excessive Salt: Too much salt can cause dehydration or serious health problems.
- Added Sugars: Extra sugars are not good and can make your dog gain weight.
- Palm Oil: Some brands use this to keep oil from separating, but it’s not needed and has too much fat.
Understanding Portion Control for Your Breed
Even healthy treats should be given in small amounts. Your dog’s size, age, and how active they are affect how many calories they need.
Here are some tips for keeping your dog healthy:
- Small breeds need very small treats to avoid overfeeding.
- Active dogs can have bigger treats, but sedentary dogs need smaller ones.
- Treats should never make up more than 10% of your dog’s daily calories.
Consulting Your Veterinarian Before Dietary Changes
Every dog is different, and what’s good for one might not be for another. Always talk to your vet before changing your dog’s diet.
Your vet can give advice based on your dog’s health and needs. This helps make sure your treats are good for your dog’s health and happiness.
Preparing Your Kitchen and Equipment
You can make your kitchen a pro bakery for your pup with a few steps. A tidy space makes baking diy dog treats easy and fun. Get ready before you start to keep things simple and enjoyable.

Necessary Baking Tools and Utensils
The right tools make baking easier. You don’t need fancy gear to make great treats at home. Here are the essential items you need:
- A sturdy rolling pin for even dough thickness.
- Fun-shaped cookie cutters to give your treats personality.
- Non-stick baking sheets to prevent burning.
- Mixing bowls of various sizes for different components.
- A silicone spatula for scraping every bit of batter.
Sanitizing Your Workspace for Pet Safety
Keeping your space clean is key to avoiding cross-contamination. Since you’re making food for your pet, make sure surfaces are clean. Pet safety is most important when preparing.
Use a pet-safe cleaner on your countertops before starting. Wash your hands well and sanitize all utensils. This keeps your dog safe and your kitchen ready for more diy dog treats.
Organizing Ingredients for Efficiency
Being efficient makes baking day calm. Measure out all ingredients before you start. This is called mise en place and helps you focus on mixing.
Put your flour, peanut butter, and other ingredients in order. A clean workspace reduces spills and mistakes. This makes making diy dog treats a fun hobby for you and your pet.
Step-by-Step Baking Instructions
Making great snacks at home is easy with a few steps and patience. Follow these steps to make your easy homemade dog treats perfect every time.

Mixing the Dough Components
Begin by mixing dry and wet ingredients in a big bowl. Use a strong spatula to mix until it’s all one dough. Consistency is key, so the dough should be firm but not sticky.
Rolling and Cutting Your Treats
Dust your countertop with flour to stop sticking. Roll the dough to a quarter-inch thickness for even baking. Use fun cookie cutters to make your quick dog treat recipes special for your pet.
Optimizing Oven Temperature and Timing
Preheat your oven well for success. Most recipes do best at 350°F for even heat. Watch the timer to avoid over-browning.
Signs Your Treats are Perfectly Baked
When the edges are light golden brown, they’re done. The surface should be firm, not soft. If edges get too dark, lower the oven heat.
Cooling Techniques for Maximum Crunch
The last step is crucial for crunch. Put the treats on a wire rack to cool. This lets air under them, keeping them crunchy.
Creative Variations and Add-ins
Customizing your dog’s snacks is a great way to meet their health needs and taste. Once you know the basic recipe, try different natural dog treats. This keeps your pup looking forward to their treats every day.
Incorporating Fresh Fruits and Vegetables
Adding fresh produce boosts your snacks’ nutrition. Mix in grated carrots or mashed blueberries for extra vitamins. These vibrant additions make your healthy dog treats more fun for your furry friend.
Adding Healthy Herbs for Digestion
Some herbs add great flavor and health benefits. A bit of fresh parsley or mint can freshen breath and aid digestion. Make sure to chop the herbs finely so they mix well into your dough.
Adjusting Texture for Senior Dogs
Older dogs might find hard biscuits hard to chew. To fix this, add a bit more water or unsweetened applesauce. This makes a softer, more palatable treat that’s easy on their teeth but still tasty.
Proper Storage and Shelf Life
After baking, keeping your treats fresh is key. Proper storage is essential to keep your diy dog treats safe and tasty. Follow simple steps to avoid spoilage and keep your dog happy.
Best Containers for Freshness
Sealing your treats right is crucial. Use airtight containers to block moisture and keep texture. This helps your baked goods stay fresh longer.
- Glass jars with rubber seals are great for keeping air out.
- BPA-free plastic containers are light and good for pantry storage.
- Stainless steel canisters are durable and stylish for keeping treats crisp.
- Vacuum-sealed bags are best for storing large amounts for a long time.
Refrigeration Versus Room Temperature Storage
Where you store your snacks depends on the ingredients. Baked items usually stay fresh in a cool, dry pantry for up to a week. But if you made no-bake dog treats with fresh dairy or meat, refrigerate them right away.
Always check your treats for moisture or mold before giving them to your dog. If your kitchen is humid, keep all diy dog treats in the fridge. This keeps your pet healthy and treats fresh.
Freezing Treats for Long-Term Use
Freezing is a great way to have treats ready when you need them. Most no-bake dog treats or baked biscuits can be frozen for up to three months without losing quality.
To freeze, place treats in a single layer on a baking sheet until solid. Then, move them to a freezer-safe bag or container. This way, you can grab just one or two treats for your dog whenever they deserve a special reward.
Troubleshooting Common Baking Issues
Learning simple dog treat recipes means fixing common kitchen problems. Even skilled bakers face small issues. But most can be fixed with a few tweaks to your method.
Fixing Dough That Is Too Sticky
If your dough is too sticky, don’t worry. It’s often because of an imbalance in wet and dry ingredients. To fix it, add a small amount of flour, a tablespoon at a time, until it’s easier to handle.
Chilling your dough in the fridge for 20 minutes also helps. Cold dough is firmer and easier to roll out without sticking.
Adjusting for Humidity and Flour Absorption
Humidity affects how ingredients behave. On wet days, flour absorbs more moisture, changing dough texture. You might need a bit more flour to get the right consistency.
Here are tips for working in different climates:
- Measure carefully: Always use a level scoop for your flour.
- Observe the texture: Trust your hands more than the clock.
- Add gradually: Add extra flour in tiny amounts to avoid dryness.
What to Do If Treats Are Too Soft
If your treats are too soft after baking, they need more oven time. Try baking them at a low temperature for 10 to 15 minutes more. This helps remove excess moisture and makes them crunchier.
For no-bake dog treats, softness means they need more time to set. If they’re still too soft, add more binding agent or chill them longer. Storing them in an airtight container helps keep their texture.
Conclusion
Baking treats for your dog is a fun way to show them love and care. You can now make safe, tasty snacks in your kitchen. It’s a great way to give them the best nutrition.
By making your own treats, you avoid bad ingredients found in store-bought ones. You control what goes into your dog’s food. This is a big plus.
Try out new flavors and textures to keep your dog interested. Your baking efforts make them happier every day. It’s a big difference.
Don’t be shy to share your baking successes with other pet owners. Making treats with simple, healthy ingredients is the best way to care for your dog.
Always have peanut butter and oat flour on hand for your next baking adventure. Your dog will thank you for all the effort you put into making treats for them.


