
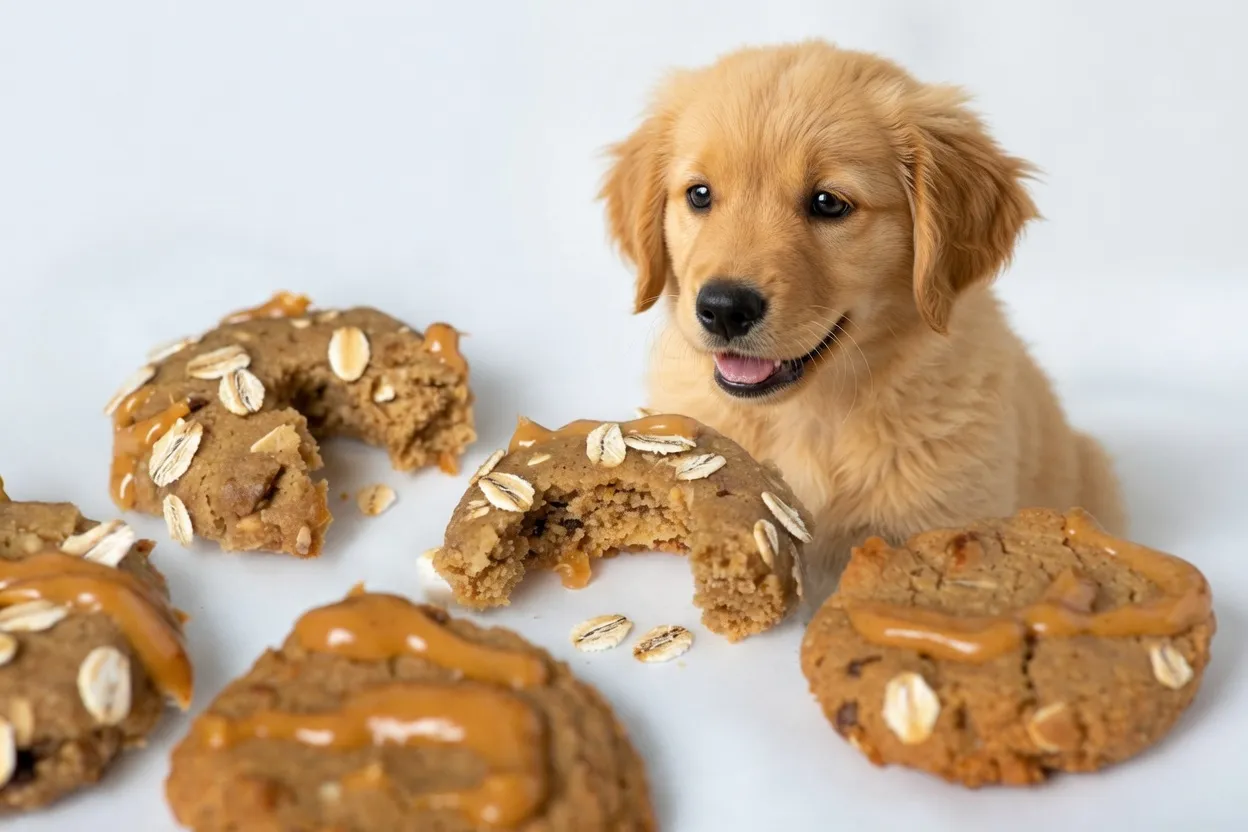
Easy Peanut Butter Oat Dog Treats Your Dog Will Love
There’s something magical about the bond with your furry friend. You want the best for them, starting with their food. Baking treats is a loving way to give them quality nutrition.
With simple pantry items, you can make Peanut Butter Oat Dog Treats. These treats avoid bad stuff found in store-bought snacks. Making these easy oat dog treats is easy and fits your busy life.

Controlling your pet’s diet makes you feel good about their health. Baking treats strengthens your bond with your pet. Let’s make something special for your pup to love.
Why Homemade Peanut Butter Oat Dog Treats Are a Better Choice
Making snacks at home lets you see what goes into them. Unlike store-bought treats, homemade ones don’t have mystery ingredients. This means your pet gets snacks made with love and care.
The Benefits of Controlling Your Dog’s Ingredients
When you bake at home, you control every ingredient. This is great if your dog has food allergies. You can make healthy dog treats just for them.
Homemade treats avoid bad additives. This means less chance of upset stomachs. You’ll know exactly what your dog is eating, keeping them healthy and happy.
Understanding the Nutritional Value of Oats and Peanut Butter
Oats and peanut butter are great for your dog. Oats give fiber for good digestion and energy. They make your dog feel full and happy.
Peanut butter is full of protein and healthy fats. These keep your dog’s coat shiny and muscles strong. These ingredients make tasty treats that are also good for your dog.
Choosing to make Peanut Butter Oat Dog Treats is a great way to care for your dog. You get treats that are both healthy and delicious. It’s a way to show your dog how much you love them.
Essential Safety Guidelines for Choosing Ingredients
When making dog-friendly peanut butter treats at home, check every label carefully. Your goal is to make sure each ingredient is good for your pet. Taking a few extra minutes to check your ingredients will give you peace of mind.

Identifying Xylitol in Peanut Butter
The most important step is to look for xylitol. This sweetener is very bad for dogs and can be deadly. Always check the ingredient list on the peanut butter jar before buying.
If “xylitol” or “birch sugar” is listed, don’t buy it. Choose brands with just peanuts or a little salt. The right peanut butter is key to making safe dog-friendly peanut butter treats.
Selecting the Right Type of Oats for Digestion
Oats are great for fiber, but not all are good for dogs. Use whole oats that are easy for your pet to digest. Here are some options for your recipe:
- Rolled Oats: These are the best choice for most homemade snacks.
- Quick Oats: Good if you need a finer texture.
- Steel-Cut Oats: Need extra soaking as they are harder to digest.
Make sure the oats are plain and don’t have added sugars or flavorings. Simple oats will help your dog’s digestion stay healthy.
Safe Additives and Flavor Enhancers
You might want to add something extra to your dog-friendly peanut butter treats. But choose wisely. Many human foods have chemicals that are bad for pets. Always choose natural ingredients that are good for your dog.
Here are some safe and healthy additions to make your snacks tastier:
- Fresh Blueberries: Full of antioxidants for a healthy boost.
- Unsweetened Applesauce: Adds moisture and a natural sweetness dogs love.
- Cinnamon: A small pinch is safe and adds a wonderful aroma.
- Carrot Shreds: Provides a satisfying crunch and extra vitamins.
By using these simple, wholesome ingredients, you make a snack that is tasty and safe. Your dog will thank you for the extra care in their treats.
Gathering Your Kitchen Equipment
Having the right tools makes making diy dog treats easy. Before mixing, organize your kitchen. This keeps your baking session stress-free and fun for you and your dog.
Must-Have Baking Tools
You’ll need basic kitchen items to start. A big mixing bowl is key for mixing ingredients well. A strong rolling pin helps make dough even.
Remember to line your baking sheets with parchment paper. It stops treats from sticking and makes cleaning up quicker. Using good tools helps you bake consistently.
Choosing the Right Cookie Cutters
Picking the right cookie cutters makes baking fun. Choose small shapes for training treats. Big cutters are great for special rewards or birthday snacks.
Here are some popular shapes for your treats:
- Classic bone shapes for a traditional look.
- Small hearts to show your love.
- Paw prints for a fun, thematic touch.
- Simple circles for quick and easy cutting.
Go for durable metal or plastic cutters. Enjoy the process of picking shapes that show your dog’s personality.
Preparing Your Workspace for Success
Setting up your workspace right is key for making diy dog treats well. It makes your kitchen clean and efficient. This lets you enjoy baking for your pet without stress.
Sanitizing Surfaces and Utensils
Start by cleaning your countertops and baking tools. This step stops bacteria from getting into your pet’s food. Cleanliness is truly the first ingredient in any good recipe.
Use a food-safe cleaner or vinegar and water to clean your space. Make sure your tools are clean and dry. A clean start keeps your dog safe.
Organizing Ingredients for Efficiency
After cleaning, organize your ingredients neatly. This method, mise en place, means measuring everything before baking. It makes the process easy.
Put wet and dry ingredients in separate groups. This keeps your kitchen neat while you make diy dog treats. With everything ready, baking is fun for you and your dog.
Step-by-Step Guide to Making Peanut Butter Oat Dog Treats
Let’s make tasty treats for your dog at home. Making dog-friendly peanut butter treats is fun and good for your pet. Follow these steps to become a pro at baking.
Mixing the Dry and Wet Ingredients
First, mix oats and peanut butter in a big bowl. Mix the dry oats with wet ingredients slowly. This makes sure everything mixes well without clumps.

Achieving the Perfect Dough Consistency
The key to quick dog treat recipes is the dough’s texture. If it’s too dry, add a bit of water. If it’s too sticky, add more oat flour. This makes the dough just right.
Rolling and Cutting Your Treats
When your dough is ready, roll it out on a floured surface. Use a rolling pin to make it even. Then, cut out shapes with cookie cutters. Your dog will love these treats.
These quick dog treat recipes are easy and fun. Making treats is a great way to bond with your pet.
Baking and Cooling Techniques for Optimal Texture
Getting your dough ready is just the start. How you bake and cool your treats makes all the difference. You want your nutritious dog snacks to be crunchy and tasty. Follow these tips to make sure every batch is a hit.
Setting the Correct Oven Temperature
Start with the right oven temperature. Most recipes need a moderate heat. This ensures treats bake evenly without burning. Always preheat your oven completely before baking.

If your oven gets too hot, use an oven thermometer. It helps prevent treats from burning on the outside before they’re done inside.
Determining When Treats Are Perfectly Crisp
Knowing when to take treats out of the oven takes practice. Look for these signs of crispiness:
- The edges should appear golden brown and firm to the touch.
- The surface of the treat should feel dry rather than tacky.
- The treats should sound hollow when tapped lightly.
- There should be no visible moisture or soft spots in the center.
The Importance of Proper Cooling
Don’t serve treats too soon. Let them cool completely on a wire rack. This is key for that perfect, satisfying crunch.
Don’t cool them on the hot baking sheet. The heat can make them steam and soften. Once cool, they’re ready for your dog to enjoy.
Creative Variations to Keep Your Dog Interested
It’s easy to keep your dog excited about their snacks by trying new flavors. Start with a basic recipe and then add new ingredients. This way, your healthy dog treats will always be fun. A little change can make your dog happy and eager to learn.
Adding Healthy Fruits and Vegetables
Adding fresh produce boosts your snacks’ vitamin content. This makes your nutritious dog snacks more than just a quick energy boost. They offer real health benefits.
- Blueberries: These are packed with antioxidants that support your dog’s immune system.
- Pumpkin: Pureed pumpkin is excellent for digestive health and adds a natural sweetness.
- Carrots: Finely grated carrots provide a satisfying crunch and a dose of beta-carotene.
- Sweet Potatoes: Steamed and mashed, they offer a great source of dietary fiber.
Incorporating Dog-Safe Herbs
Fresh herbs add natural flavor without artificial additives. Many herbs also offer health benefits. This makes your healthy dog treats even better for your pet.
Try adding finely chopped parsley to freshen your dog’s breath. Mint is also good for soothing upset stomachs and adding a refreshing scent. Make sure to use fresh, organic herbs and wash them well before adding them to your dough.
Adjusting Recipes for Dogs with Sensitivities
If your dog has food sensitivities, you can modify your nutritious dog snacks to meet their needs. This way, every treat is safe and enjoyable for your dog.
- Grain-Free Options: Swap standard oats for coconut flour or chickpea flour if your dog has a grain allergy.
- Protein Swaps: If peanut butter is an issue, try using almond butter or sunflower seed butter as a safe alternative.
- Low-Calorie Adjustments: Reduce the amount of fats by using unsweetened applesauce as a binder instead of extra oil.
Proper Storage and Shelf Life Tips
You worked hard to bake those homemade dog treats. Now, let’s keep them safe and tasty. Storing them right is key to keeping their quality. Follow these easy steps to make sure your pet gets a fresh treat every time.
Storing Treats at Room Temperature
For snacks you’ll use in a few days, a cool, dry spot is best. Store your homemade dog treats in an airtight container. This keeps them crunchy and fresh.
Don’t put the container in direct sunlight or near heat. Keep the temperature steady to preserve the ingredients. If your kitchen is warm, move the treats to a pantry.
Freezing Homemade Treats for Long-Term Use
Freezing is great for keeping your homemade dog treats fresh for weeks or months. Cool the snacks and then put them in a freezer-safe bag or container. This keeps the flavor and nutrients of oats and peanut butter.
Take out only what you need for the day when you’re ready to serve. Let the treats thaw on the counter for a few minutes. This keeps your homemade dog treats delicious for a long time.
Signs That Your Treats Have Expired
Even with good storage, always check for spoilage signs. If there’s an unpleasant or rancid smell, throw them out. Fresh treats should smell nutty and nice.
Look for mold or a slimy texture. If the treats are soft or damp, they’ve absorbed too much moisture. Your dog’s health is the top priority. If unsure, bake a fresh batch.
Troubleshooting Common Baking Issues
Even the most seasoned home bakers face snags when baking treats for their pets. These quick dog treat recipes are simple, but small changes can affect results. Knowing how to adjust helps ensure perfect treats every time.
Fixing Dough That Is Too Sticky or Too Dry
If your dough is hard to handle, don’t worry. Getting the right texture is about small changes.
- If the dough is too sticky: Add a teaspoon of flour at a time until it pulls away from the bowl. Don’t add too much to avoid toughness.
- If the dough is too dry: Add a little water or extra peanut butter. Mix well until it sticks together.
Getting the dough right is key to making consistently delicious easy oat dog treats.
Preventing Treats from Burning
Oven temperatures can differ, leading to over-browning. Watch the oven closely during the last few minutes.
If edges brown too fast, try rotating the baking sheet. Use parchment paper to prevent scorching. Remember, quick dog treat recipes bake faster than human cookies.
Adjusting for High-Altitude Baking
High altitudes change how dough rises and moisture evaporates. If you’re above 3,000 feet, you’ll need to adjust your easy oat dog treats.
Dough might dry out faster. Try adding a bit more liquid or baking at a lower temperature. Patience is key when adjusting to your local environment. Watch your treats closely until you get it right.
Conclusion
Making homemade peanut butter and oat snacks is a great way to show your dog love. You now know how to pick safe ingredients and bake with confidence.
Your kitchen turns into a place of joy when you make these treats. Each batch you bake makes your bond with your pet stronger.
Start baking today to give your dog the best snacks. Share your favorite recipes with other pet owners. Your dog will love the special care you put into every bite.


