
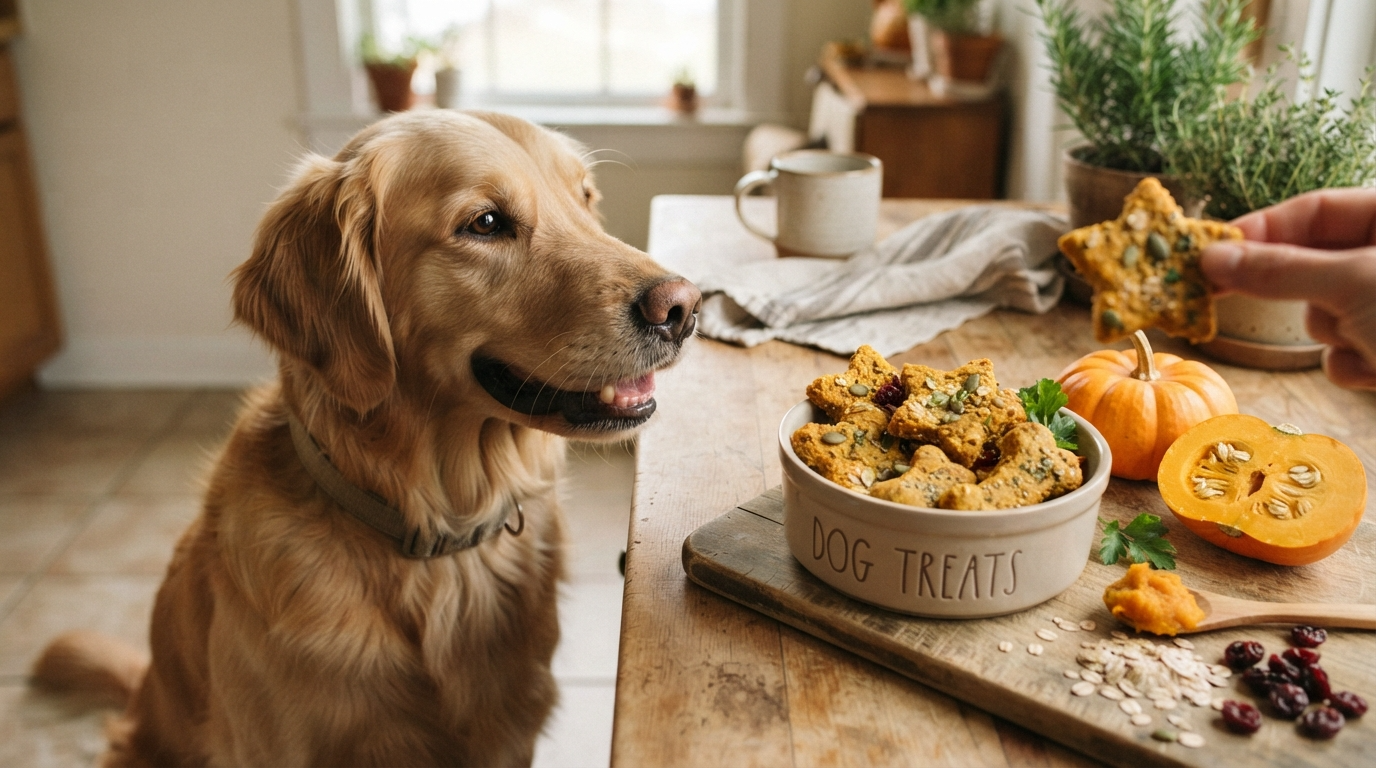
Healthy Pumpkin Dog Treats Your Pup Will Love Today
Baking snacks at home is a great way to show love to your furry friend. If you want to give snacks that are good for them and taste great, you’re in the right spot. Making healthy pumpkin dog treats your pup will love is easy and fun.

This guide will show you how to do it. We’ll pick the best ingredients like pureed squash, fresh eggs, natural nut butter, and good flour. Quality matters for your dog’s health.
You’ll learn to mix these ingredients into a great dough. Then, bake them until they’re golden and crisp. And, you’ll find out how to keep them fresh for later. Whether you’re new to baking or have done it before, these steps will help you succeed. Get ready to make Healthy Pumpkin Dog Treats Your Pup Will Love in your kitchen today.
Why Healthy Pumpkin Dog Treats Your Pup Will Love
Many dog recipes use pumpkin because it’s a nutritional powerhouse. It’s not just a seasonal favorite. It’s a snack that’s good for your dog’s health.
How Pumpkin Can Support Your Dog’s Digestion
Pumpkin is full of fiber, which is great for a healthy gut. It can help if your dog has digestive issues. It makes their system work better and helps with bowel movements.
Vets often suggest pumpkin for upset stomachs. It’s a natural way to help your dog’s digestive health. You don’t need harsh supplements.
What Makes Homemade Dog Treats a Healthier Choice
Making homemade dog treats lets you control what goes into them. Store-bought snacks have hidden sugars and artificial stuff. They don’t give your dog much good.
At home, you can pick fresh, safe ingredients. You can also make sure your dog gets the right amount of food. This helps them stay healthy and happy.
When Pumpkin Treats May Not Be Appropriate
Pumpkin is usually safe, but not for every dog. If your dog has diabetes or pancreatitis, talk to your vet first. They can help decide if pumpkin is okay.
Some dogs might have food allergies. This could be a problem with homemade dog treats. Always check with your vet to make sure the treats are right for your dog.
Gather Simple Ingredients for Natural Dog Treats
Starting your pet’s journey to better nutrition is easy. Just pick the right ingredients for your homemade dog treats. Choosing quality ingredients means your pet gets a tasty and healthy snack. This way, you can make natural dog treats that your pet will love.

Choose Plain, Unsweetened Pumpkin
Use pure, canned pumpkin as the main ingredient. Make sure it’s plain, unsweetened pumpkin puree. Avoid pumpkin pie filling because it has spices and sweeteners that are bad for dogs.
Select Dog-Safe Flour Options
For the base of your biscuits, pick dog-safe flours. Oat flour, brown rice flour, or coconut flour work well. They’re easier for dogs to digest than white flour.
Add Nutritious Ingredients for Flavor and Texture
Adding healthy ingredients makes your treats more exciting. Choose the right additions to boost flavor and nutrition. These small changes make your treats a rewarding snack.
Suitable Add-Ins Such as Eggs, Apples, and Peanut Butter
Make your homemade dog treats more flavorful with pantry favorites. Here are some safe and tasty options:
- Eggs: They’re a great protein source and help the dough stick together.
- Apples: They add natural sweetness and a nice crunch when chopped finely.
- Peanut Butter: It adds healthy fats, but make sure it’s 100% natural and free of additives.
Ingredients to Avoid, Including Xylitol, Nutmeg, and Excess Sugar
When baking for your pet, safety is key. Avoid ingredients that are toxic to dogs, like xylitol. Also, never use nutmeg, chocolate, raisins, or too much sugar in your recipes.
Always check your labels to make sure your ingredients are safe. Keeping harmful items out of your kitchen helps you make healthy natural dog treats.
Prepare Your Kitchen and Plan Safe Treat Portions
Getting ready is key to making great homemade dog treats. A little planning makes baking fun and easy.

Preheat the Oven and Prepare the Baking Surface
First, heat your oven to the recipe’s temperature. A steady oven is essential for the right treat texture.
Put parchment paper or a silicone mat on your baking sheets. This stops treats from sticking and makes cleaning up a breeze.
Use Clean Bowls, Utensils, and Storage Containers
Use only clean, safe bowls and tools for mixing. This avoids harmful pet food contamination.
Have your storage containers ready before starting. Keeping treats in a cool, dry spot keeps them fresh longer.
Determine Treat Sizes for Small, Medium, and Large Dogs
Think about your dog’s size when shaping treats. The right dog treat portions are safe and fun.
Small dogs need tiny treats that are easy to chew. Bigger dogs can have larger treats, but small ones are better for training.
Account for Treats Within Your Dog’s Daily Calories
It’s easy to overfeed your pet with tasty treats. But, remember, they’re not a free-for-all.
Make sure treats are only a small part of their daily food. This keeps your dog healthy and at a good weight.
Mix the Dough for Easy Pumpkin Dog Treat Recipes
Now that your kitchen is ready, it’s time to mix your pumpkin recipes for dogs. A clear process makes sure your easy dog treat recipes are perfect every time.

Step 1: Combine the Wet Ingredients
Measure Pumpkin, Egg, and Dog-Safe Peanut Butter Accurately
Begin by using a large mixing bowl for your base components. Measure your plain pumpkin puree, fresh egg, and dog-safe peanut butter carefully. Accuracy is vital for the right dough texture before adding flour.
Step 2: Add the Dry Ingredients Gradually
Adjust the Dough When It Is Too Sticky or Too Dry
Slowly add your chosen flour to the wet mixture. Adding flour in small amounts helps you control the dough’s consistency. If it’s too sticky, add a bit more flour until it forms a ball.
If the dough seems too dry or crumbly, add a teaspoon of water at a time. Finding the right balance is key for easy dog treat recipes your dog will love. You want the dough to be pliable but not too wet.
Step 3: Knead Until the Dough Holds Together
After mixing, turn the dough onto a lightly floured surface. Use your hands to knead the dough gently until it’s smooth and cohesive. This step ensures all healthy ingredients in your pumpkin recipes for dogs are evenly distributed for a consistent bake.
Shape and Bake Homemade Pumpkin Dog Treats
Making pumpkin dog biscuits looks easy once you know the steps. Each treat will be perfectly baked.
Step 4: Roll the Dough to an Even Thickness
Put your dough on a floured surface. Roll it flat with a rolling pin until it’s about a quarter-inch thick.
Consistency is key. An even thickness means all treats bake the same. If some are too thin, they might burn before the thicker ones are done.

Step 5: Cut Pumpkin Dog Biscuits Into Dog-Friendly Shapes
Use your favorite cookie cutters to make fun shapes. Your pup will love the effort, whether it’s bones, hearts, or circles.
Choose Small Shapes for Training Rewards
For training, pick smaller shapes. These small treats are great for rewarding your dog often without giving too many calories.
Make Larger Biscuits for Occasional Snacks
For bigger treats, use larger cutters. These pumpkin dog biscuits are great for a special snack after a walk or playtime.
Step 6: Bake Until Firm and Lightly Golden
Put your cutouts on a parchment-lined baking sheet. Bake until they’re firm and lightly golden.
How to Check for Doneness Without Overbaking
To see if they’re done, press the center of a biscuit. It should feel firm, not soft or doughy.
Watch the oven closely in the last few minutes. Preventing burnt edges keeps the flavor and texture best.
Step 7: Cool the Treats Completely Before Serving
After baking, move the biscuits to a wire rack to cool. Let them cool completely before giving them to your dog.
Cooling lets the moisture evaporate. This makes the treats crunchy. Serving them too soon can make them soft.
Customize Pumpkin Recipes for Dogs and Dietary Needs
You can easily tailor your pumpkin recipes for dogs to suit their specific health requirements and personal preferences. Adjusting your approach ensures that every snack is both safe and enjoyable for your furry companion.
Make Softer Treats for Older Dogs
If your senior pup struggles with dental issues, you might prefer to make soft dog treats. Simply increase the amount of pumpkin puree or add a splash of water to the dough to keep the texture tender. Reducing the baking time slightly will also help maintain a chewy consistency that is gentle on older teeth.
Create Crunchier Biscuits for Dogs That Prefer a Firm Texture
Some dogs love a satisfying snap when they bite into a snack. To achieve this, roll your dough thinner and bake the biscuits for a longer duration at a lower temperature. This process effectively dehydrates the treat, resulting in a durable, crunchy biscuit that keeps your dog happily occupied.
Adapt the Recipe for Wheat-Sensitive Dogs
If your pet has a delicate stomach, you can easily create wheat-sensitive dog treats by swapping traditional flour. Oat flour, coconut flour, or chickpea flour are excellent, grain-free alternatives that provide great structure. Always ensure the flour you choose is pure and free from additives to keep your dog feeling their best.
Add Dog-Safe Flavors Without Harmful Seasonings
Enhancing the taste of your homemade snacks is fun, but you must prioritize safety above all else. Stick to natural, dog-friendly ingredients to keep your pup healthy and happy.
Use Cinnamon Only in Small, Appropriate Amounts
A tiny pinch of cinnamon can add a warm, inviting aroma to your treats. Always use it sparingly to avoid any potential digestive upset. A little goes a long way in making your kitchen smell wonderful while keeping the snack safe.
Skip Nutmeg, Chocolate, Raisins, and Artificial Sweeteners
Never include nutmeg, chocolate, or raisins in your recipes, as these are highly toxic to dogs. Also, avoid artificial sweeteners like xylitol, which can be life-threatening even in small doses. Stick to simple, whole-food ingredients to ensure your dog stays safe and healthy.
Serve, Store, and Freeze Your Healthy Pet Snacks
Proper storage and serving techniques ensure your pup enjoys every bite of their homemade snacks safely. Taking the right steps after baking helps maintain the quality of these healthy pet snacks for your furry companion.
Introduce New Dog-Friendly Pumpkin Treats Gradually
When you offer your pup a new snack, start with a small amount. This lets you watch how they react to the ingredients in these dog-friendly pumpkin treats.
Look for signs of upset stomach or allergies in the first twenty-four hours. If they do well, you can add them to their diet more often.
Store Baked Treats at Room Temperature or in the Refrigerator
Homemade biscuits don’t have preservatives like store-bought ones. So, it’s key to store them right. Use an airtight container to keep them fresh and prevent drying out.
Keep them in a cool, dry place for up to a week. For longer, put them in the fridge for another week.
Freeze Extra Treats for Longer Storage
Freezing is best for keeping a large batch fresh for months. Cool the treats first, then put them in a freezer-safe bag or container. Try to remove as much air as you can.
To serve, thaw a few at room temperature for thirty minutes. This way, your dog always has a tasty reward ready without needing to bake all the time.
Recognize Signs That Treats Have Spoiled
Always check your snacks before giving them to your pet. If they smell bad, have mold, or feel different, throw them away.
Too much moisture can spoil homemade treats. If they’re soft or damp when they should be crisp, they’re not safe. Your dog’s health is most important, so if unsure, it’s best to throw them away.
Keep DIY Dog Treats Safe and Balanced
Making diy dog treats can be fun. But remember, these treats are special snacks, not a full meal. They should not replace your dog’s regular food.
Use Treats as a Supplement Rather Than a Complete Diet
Remember, your dog’s health starts with nutritional balance. Homemade snacks should not replace good dog food or fresh water. Think of them as rewards, not daily food.
Follow the Ten-Percent Treat Guideline
To keep your pet at the right weight, follow the ten-percent treat guideline. Treats should be no more than ten percent of your dog’s daily calories. This keeps them healthy and happy.
Check Every Ingredient for Toxicity and Allergens
Before mixing, make sure all ingredients are safe for dogs. Some foods are toxic to dogs. Always check your list for dangers. Making safe homemade dog treats means being careful, avoiding things like xylitol.
Watch Your Dog After the First Serving
Introduce new snacks slowly to see how your dog reacts. Watch them closely after the first treat. Observation is key to keeping them comfortable.
Possible Signs of Digestive Upset
Watch for sudden changes in your dog’s behavior or health. Signs include vomiting, diarrhea, or feeling very tired. If you see these signs, stop the treats right away.
When to Contact Your Veterinarian
If your dog is uncomfortable or shows severe symptoms, call your vet. It’s always better to be cautious with your pet’s health. Your vet can give you peace of mind.
Ask Your Veterinarian About Special Health Conditions
If your dog has health issues, talk to your vet before giving new diy dog treats. Your vet can help choose safe ingredients for your pet. This ensures your treats meet your dog’s needs.
Considerations for Dogs With Diabetes, Pancreatitis, or Food Allergies
Dogs with diabetes or pancreatitis need careful diets. Pets with food allergies also need special ingredients. Always listen to your vet to keep your dog healthy.
Conclusion
Making healthy pumpkin dog treats at home lets you control what your pet eats. You know how to pick plain pumpkin, make a simple dough, and bake the right size for your dog.
Let your treats cool down completely before giving them to your dog. Storing them properly keeps them fresh for a while. Make sure these treats don’t add too many calories to your dog’s diet.
You can change the texture or ingredients to fit your dog’s taste and needs. Always talk to your vet about any health issues that might affect treat safety. Start baking today and see how happy your dog will be.


