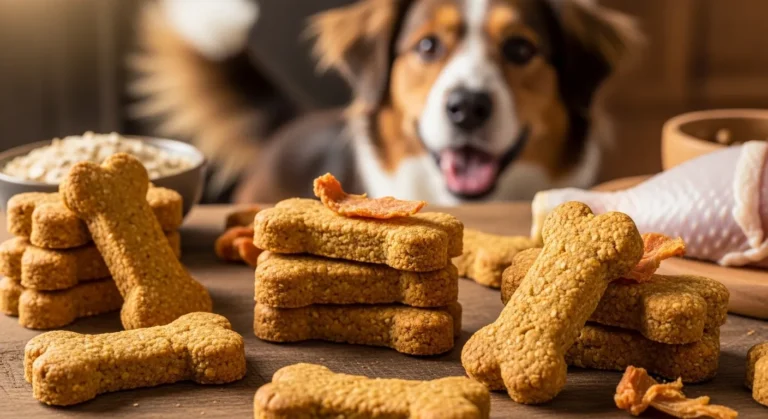
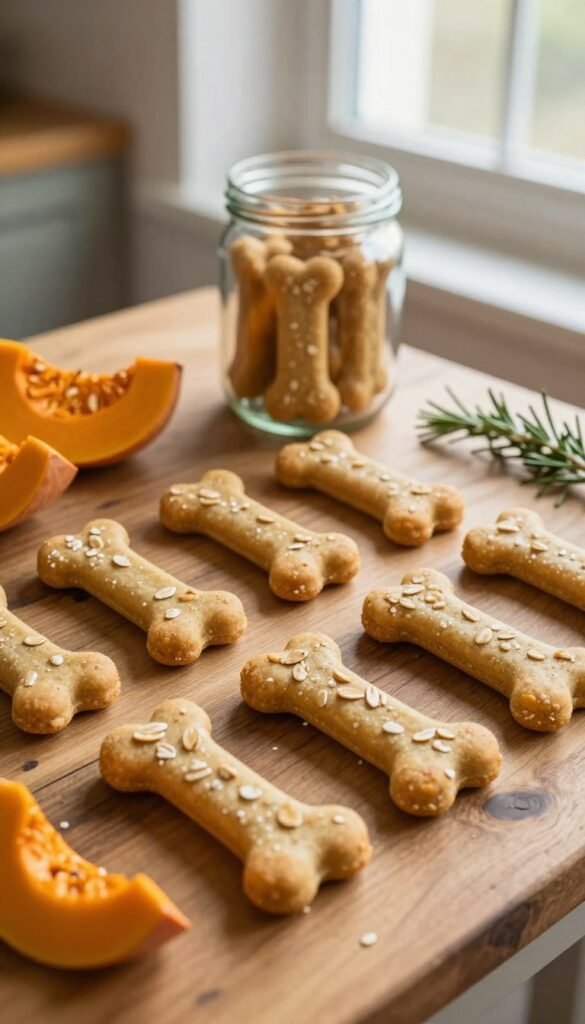
Homemade Pumpkin Oat Bones Christmas Dog Treat Recipe
The holiday season is magical, filled with warmth and laughter. It’s a time to give and share joy. There is something truly special about making treats for your furry friends.
Making a pumpkin oat bones christmas dog treat recipe shows you care. Baking at home means you pick every ingredient. It makes a special tradition that brings you closer.
Using natural ingredients makes you feel good. This Christmas dog biscuit recipe is easy to follow. It adds a personal touch to your holiday prep.
Let’s start this tasty journey together. Your hard work will make your pet’s holiday season unforgettable. They’ll bark with joy and spread festive cheer.
Why Homemade Treats Are Perfect for the Holidays
Why choose store-bought snacks when you can make your own? Baking homemade dog treats lets you control every ingredient. You can avoid bad stuff found in store treats.
This is a thoughtful way to show your pet love during the holidays. Making these treats yourself means your dog gets the best nutrition. It’s a small change that makes a big difference.
Beyond health benefits, these holiday pet treats help bond with your dog. Cooking together creates special memories. Here are some perks of making your own treats:
- Complete control over dietary restrictions and allergies.
- Significant cost savings compared to premium store brands.
- The joy of sharing a handmade gift with your furry friend.
- Customization of shapes and sizes to suit your dog’s preferences.
Trying out seasonal dog treat ideas brings holiday cheer home. Whether for your pup or as gifts, these treats are always a hit. The joy of making them is just as great as seeing your dog enjoy them.
Essential Ingredients for Your Pumpkin Oat Bones Christmas Dog Treat Recipe
Quality ingredients make a great pumpkin oat bones Christmas dog treat recipe. You get to pick what goes into your pet’s treats. This means they get the best nutrition during the holidays.
Using simple, healthy items makes baking safe and fun.
Selecting High-Quality Pumpkin Puree
The pumpkin is the main ingredient. Always pick 100% pure pumpkin puree, not canned pumpkin pie filling. Pie fillings have spices and sugars that dogs shouldn’t eat.
Make sure the pumpkin is xylitol-free. Xylitol is very bad for dogs. Pure pumpkin is full of good vitamins and minerals for your dog’s health.
The Benefits of Using Rolled Oats
Rolled oats are great for these healthy dog treats. They’re good for your dog’s stomach and taste great. Whole oats add energy-boosting carbs to your treats.
Oats are also gluten-friendly and easy to find. They help hold the dough together. This makes your treats filling and healthy.
Safe Additives and Flavor Enhancers
To make your pumpkin oat bones Christmas dog treat recipe even better, add some safe flavorings. A little ground cinnamon gives a festive smell that dogs love. You can also add a bit of raw honey for sweetness.
But remember, don’t overdo it with new flavors. These healthy dog treats are treats, not meals. With these ingredients, you know your holiday baking is safe and tasty for your pet.
Necessary Kitchen Equipment for Baking Dog Biscuits
Starting to make easy homemade treats means getting your kitchen ready. The right tools make baking diy pet snacks fun and easy for anyone.
Choosing the Right Bone-Shaped Cookie Cutters
For a festive look, get a sturdy, bone-shaped cookie cutter. It makes your holiday biscuits look great and fun.
Choose stainless steel cutters. They are sturdy and easy to clean. A sharp edge helps your dough cut well, keeping the shape before baking.
Essential Mixing and Baking Tools
You’ll need more than just cutters for perfect, easy homemade treats. A big mixing bowl is key for mixing without a mess.
A good rolling pin is also important. It helps you get the dough to the right thickness. This ensures your diy pet snacks bake evenly.
Lastly, a non-stick baking sheet is a must. It stops your biscuits from burning or sticking. The right tools let you enjoy baking without stress.
Preparing the Dough for Festive Canine Goodies
Making the dough is fun and key for your furry friend’s treats. Mixing ingredients well ensures your healthy dog treats are just right for shaping. This step is crucial for delicious flavor in every bite.
Step 1: Combining Dry Ingredients
Begin by mixing your base in a big bowl. Whisk together oat flour and spices until they’re perfectly blended. This makes the dough smooth and easy to work with.
Step 2: Incorporating Wet Ingredients
Now, add the wet stuff to your dry mix. Fold in pumpkin puree and other wet ingredients until it thickens. This is when your festive canine goodies start to come alive, smelling great and being healthy.
Step 3: Achieving the Perfect Dough Consistency
Check your dough’s texture to get it just right. If it’s too crumbly, add a bit of water. If it’s too sticky, add more oat flour. You want it to be smooth and easy to work with.
Getting the dough right is key for great results. When it’s firm and pliable, you’re ready for the next step. Spending time on this step will make your healthy dog treats look and taste amazing.
Shaping and Baking Your Holiday Pet Treats
After making the dough, it’s time to shape and bake your holiday pet treats. Making them look like they came from a bakery is easy with a few steps.
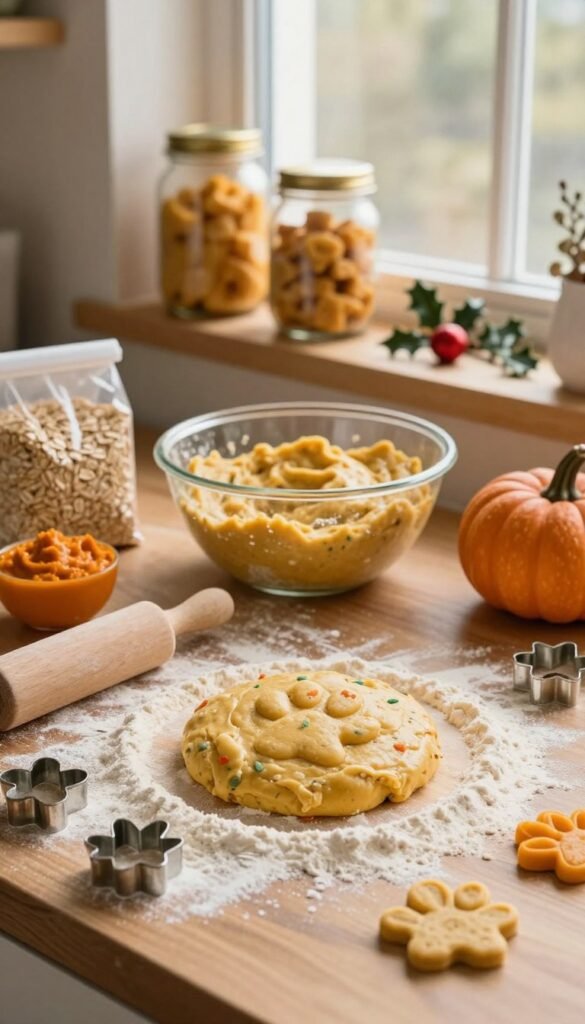
Rolling Out the Dough
First, dust your countertop with flour to stop the dough from sticking. Use a rolling pin to flatten it to about one-quarter inch thick.
It’s important to roll the dough evenly. This way, all treats will bake the same, so they won’t be burnt or soft in the middle.
Cutting and Arranging on the Baking Sheet
Press a bone-shaped cookie cutter into the dough for sharp edges. Lift each shape and put it on a parchment-lined baking sheet.
Leave at least one inch between each treat. This proper arrangement helps them get crispy, which is what your dog will love.
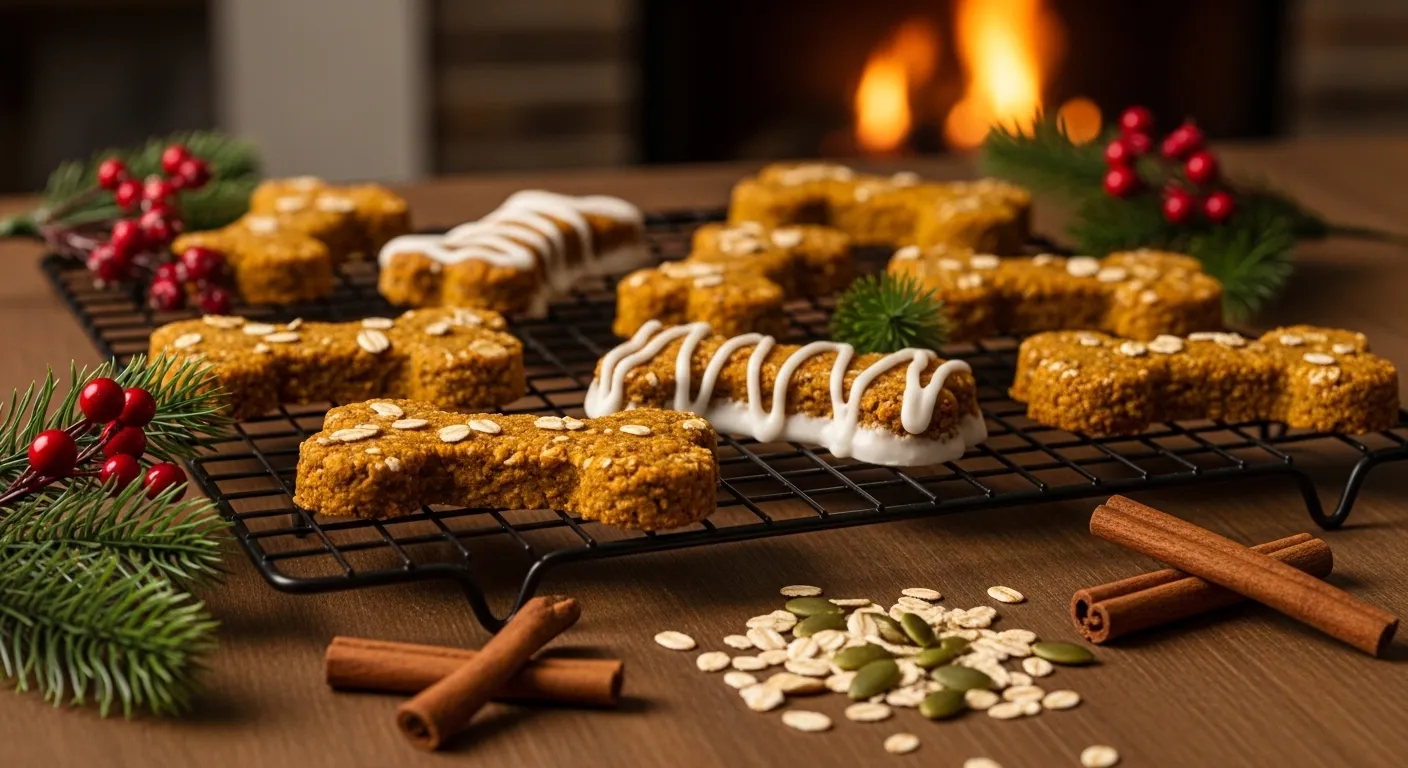
Temperature and Timing for Optimal Crunch
Heat your oven to 350°F (175°C) for even baking. Put your tray in the center rack and bake for 20 to 25 minutes.
Watch the treats closely in the last few minutes. They should be light golden brown. When done, they’ll make your dog’s Christmas morning special.
Tips for Storing and Preserving Homemade Dog Treats
Keeping your homemade dog treats fresh is easy with a few simple steps. This way, your pet can enjoy their treats without worrying about safety or health.
Proper Cooling Techniques
Let your treats cool completely on a wire rack before storing. This is essential to prevent moisture buildup. Moisture can cause mold, which is bad for your pet.
Storage Containers and Shelf Life
Choosing the right container is key to keeping your easy homemade treats fresh. Always pick airtight containers to keep moisture out. Here are some tips for the best storage:
- Use glass jars with rubber seals for a tight fit.
- Keep containers in a cool, dry pantry away from direct sunlight.
- Check for any signs of moisture every few days.
- Consume within two weeks for maximum freshness.
Freezing Treats for Long-Term Use
Freezing is great for storing a lot of treats. Place cooled snacks in a freezer-safe bag or container. These easy homemade treats can last up to three months in the freezer. Just thaw a few at room temperature when your pup wants a treat.
Creative Ways to Gift Your Homemade Dog Treats
Sharing homemade dog treats is a great way to spread holiday cheer. Making diy pet snacks shows you care about pets’ health and happiness. It’s a thoughtful gesture that goes beyond store-bought treats.
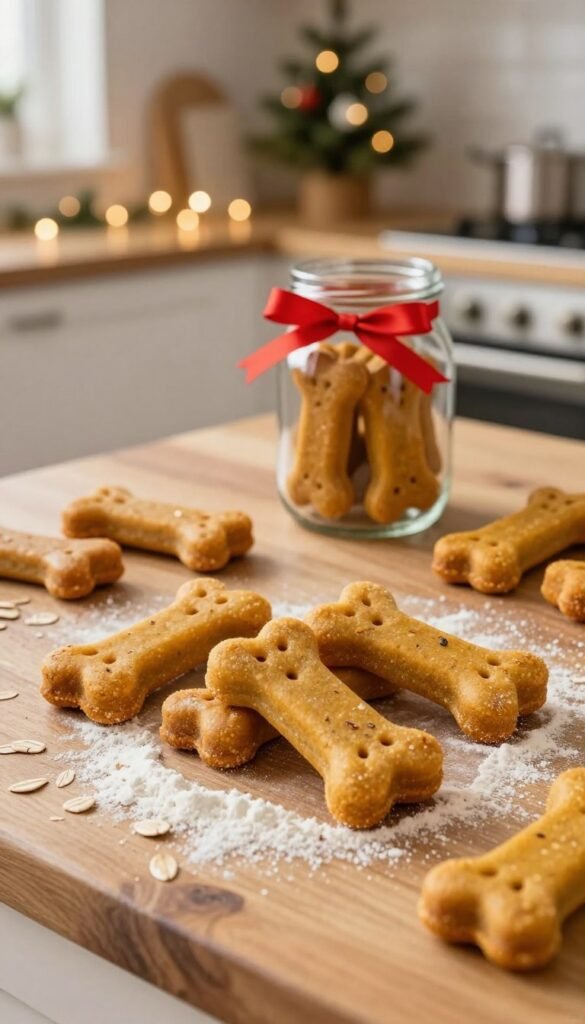
Packaging Ideas for Friends and Family
Presentation matters when you want your gifts to look good. Use clear mason jars with rustic twine for a farmhouse look. Or, try festive tins with parchment paper for a delightful holiday touch.
Simple cellophane bags with colorful ribbons or stickers work well too. They let the recipient see the care in each biscuit. The right container keeps your diy pet snacks fresh and tasty.
Adding Personalized Holiday Tags
Personalized holiday tags add a special touch. Include the dog’s name for a personal touch. A short, festive message or a list of ingredients adds a professional feel.
Handwritten notes are warmer than printed labels. Write a quick greeting like “Happy Paw-lidays” to brighten someone’s day. These details make your baking efforts into memorable gifts that celebrate the bond between pets and their owners.
Conclusion
Baking treats for your pet brings you closer during the holidays. This simple recipe is a healthy choice over store-bought snacks. It’s filled with mystery ingredients.
Your dog will love the care you put into each batch. Using good ingredients keeps your pet happy and healthy during the holidays.
Keep this recipe for future celebrations or cozy weekends. Try different shapes and flavors to make snack time fun for your dog.
Share these treats with other pet owners to spread joy. Your hard work turns simple ingredients into special gifts. They celebrate the bond you share with your dog.