
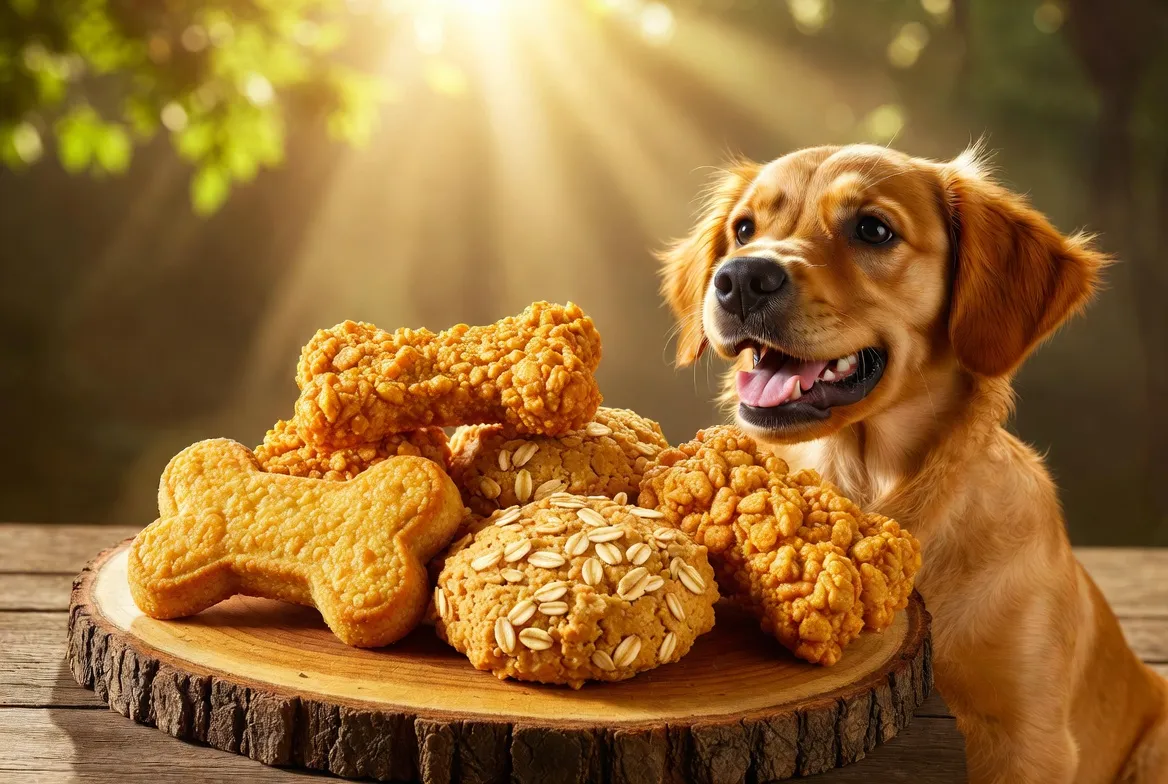
6 Crunchy Baked Dog Treats Recipes for Chewy Lovers
When you cook something healthy just for your best friend, magic happens. They get excited when they smell treats from the oven. Making snacks at home means you choose the best ingredients for them.

Baking is a heartfelt way to show love to your dog. It doesn’t matter if you’re new to baking or not. These 6 recipes will make you feel confident in the kitchen. Making these treats is easy and very rewarding.
This guide is all about your pet’s health and happiness. You’ll discover many textures they’ll love. Let’s begin this culinary adventure and make snack time the best part of their day.
Why Homemade Treats Are Better for Your Dog
When you make snacks at home, you control your dog’s food. You pick every ingredient, making sure it’s the best for them. Making homemade dog treats helps keep your pet healthy for a long time.
Understanding the Benefits of Natural Ingredients
Using natural ingredients lets you make snacks just right for your dog. You can add fresh proteins, healthy fats, and veggies. This makes your pet feel better, with better digestion and a shinier, softer coat.
You can also replace bad fillers with good ones. These healthy dog treats don’t have the bad stuff found in store snacks. Giving your dog real food shows you care about their health every day.
Avoiding Harmful Additives in Store-Bought Snacks
Many store snacks have bad stuff like artificial preservatives and dyes. These can upset your dog’s stomach or make them sensitive. Making treats at home means no bad chemicals or sugars.
Reading labels on store snacks can be scary. But when you bake, you know exactly what’s in your treats. Making healthy dog treats means your pet gets a safe and tasty snack.
Essential Kitchen Tools and Ingredients for Success
Making diy dog treats is fun when you have the right tools. A clean workspace makes baking better for you and your dog. Having everything ready helps you make treats that are always great.

Must-Have Baking Equipment
Start with basic but useful tools. A durable silicone baking mat stops treats from sticking. It also means you don’t need extra grease.
Get a set of stainless steel cookie cutters too. They make treats fun and easy for your dog to eat. A good mixing bowl and spatula are also key. They help mix ingredients well.
Safe Flour Alternatives for Sensitive Stomachs
Some dogs can’t handle regular wheat flours. They might upset their stomachs. But, you can use grain-free or gluten-free alternatives instead.
Coconut flour, chickpea flour, and oat flour are good choices. They add texture to your treats. Make sure your flour is free from bad stuff like xylitol. This way, your dog treat recipe is safe and healthy for your pet.
6 Crunchy Baked Dog Treats Recipes for Chewy Lovers
Making the perfect crunch in homemade dog treats is fun. When you make 6 crunchy baked dog treats recipes for chewy lovers, you do more than mix ingredients. You create a snack that keeps their teeth clean and their minds busy.

Balancing Texture for Dogs Who Love a Crunch
The secret to a great dog biscuit recipe is the dough’s moisture. If it’s too wet, the treats won’t be crunchy. You want a firm, dry dough that keeps its shape in the oven.
Adding oats or coarse flours helps. They soak up extra liquid, making the treats crunchy. Always measure your dry ingredients right to keep the dough consistent.
How to Achieve the Perfect Bake Every Time
Temperature control is key to baking without burning. Use a lower oven temperature for a longer time. This slow baking makes the treats crunchy and keeps them fresh.
Your kitchen’s humidity can change baking times. If it’s damp, let the treats cool in the oven longer. This trick removes extra moisture, making the treats perfectly crisp and shelf-stable for your dog.
Peanut Butter and Oat Crunchies
Nothing beats the smell of fresh, oven-baked treats cooling on your kitchen counter. Peanut butter is a classic favorite for dogs. When mixed with heart-healthy oats, it makes a nutritious and tasty snack. This dog treat recipe is a great way to reward your furry friend with wholesome ingredients.

Ingredients You Will Need
Before you start, make sure you have the right supplies. It’s important to select a dog-safe peanut butter without xylitol. This sweetener is toxic to dogs. Here’s what you’ll need for these easy dog treat recipes:
- 2 cups of rolled oats (or oat flour)
- 1 cup of natural, xylitol-free peanut butter
- 1 large egg
- 1/4 cup of water (add slowly as needed)
Step-by-Step Baking Instructions
Once your ingredients are ready, the process is simple and rewarding. Follow these steps to create a batch of crunchies that will have your dog waiting patiently by the oven:
- Preheat your oven to 350°F (175°C) and line a baking sheet with parchment paper.
- In a large bowl, mix the oats, peanut butter, and egg until a firm dough forms.
- Roll the dough out on a floured surface to about 1/4 inch thickness.
- Use your favorite cookie cutters to create fun shapes, then place them on the baking sheet.
- Bake for 15 to 20 minutes until the edges are golden brown and crispy.
Let the treats cool completely on a wire rack before serving. This simple process ensures you have a reliable dog treat recipe ready whenever your pup needs a snack. These easy dog treat recipes are perfect for beginners looking to provide the best for their pets.
Sweet Potato and Cinnamon Snaps
Sweet potatoes are a nutritional powerhouse. They can make your homemade dog snack recipe a healthy reward. These vibrant root vegetables offer a natural sweetness that dogs find irresistible, thanks to the warm, comforting scent of cinnamon. By choosing these ingredients, you provide a treat that is as wholesome as it is delicious.

Why Sweet Potatoes Are a Superfood for Dogs
Sweet potatoes are packed with essential vitamins, including Vitamin A and Vitamin C. These vitamins are vital for your dog’s immune system. They also serve as an excellent source of dietary fiber, which helps maintain a healthy digestive tract. Your furry friend will benefit greatly from the steady energy these complex carbohydrates provide throughout the day.
Beyond basic nutrition, these vegetables are low in fat and high in antioxidants. This makes them a perfect base for a nutritious dog biscuit recipe that supports long-term wellness. You can feel confident knowing that you are feeding your pet ingredients that actively contribute to their overall vitality.
Preparation and Baking Tips
To get the best results, prepare your sweet potatoes properly before mixing them into your dough. We recommend either steaming or roasting the potatoes until they are fork-tender. Once cooked, mash them thoroughly to ensure a smooth consistency that binds well with your other ingredients.
When you are ready to bake, keep a close eye on the oven to achieve that perfect, satisfying crunch. A hint of cinnamon adds an inviting aroma that makes this dog snack recipe a favorite in any household. Remember to let the treats cool completely on a wire rack, as this final step is crucial for locking in the crisp texture your dog loves.
Pumpkin and Flaxseed Power Bites
These power bites mix digestive health with a tasty crunch. They are part of easy dog treat recipes that boost nutrition. Pumpkin and flaxseed make a snack that’s easy on the stomach and full of good fats.

The Digestive Benefits of Pumpkin
Pumpkin soothes upset stomachs and helps with digestion in dogs. It’s a natural fiber source that keeps things moving. Adding pumpkin to your baking is a great way to care for your pet.
Flaxseed adds Omega-3 fatty acids to the mix. These fats make your dog’s coat shiny and skin healthy. These treats are a great choice for any diet and taste great too.
Creating the Ideal Dough Consistency
Getting the dough right is key in easy dog treat recipes. It should be firm but still moist. If it’s too sticky, add a bit of flour.
Here’s how to get your dough ready for baking:
- Gradually add liquid: Start with less pumpkin puree and add more as needed.
- Chill the dough: If it’s too soft, chill it in the fridge for 20 minutes.
- Use parchment paper: Roll the dough between parchment to avoid sticking.
- Check the thickness: Aim for even thickness for even baking and a perfect crunch.
With these tips, making healthy snacks is easy. These power bites offer top-notch nutrition without additives. Your dog will love every crunchy, tasty bite.
Apple and Cheddar Cheese Crisps
Mix apples’ crisp sweetness with cheddar’s bold taste for a rewarding experience for your pet. These snacks are a favorite in many homes. Making them at home means your pup gets high-quality, chewy treats without fillers.
Selecting Dog-Safe Apples
When giving fruit to your dog, safety comes first. Wash the apples well and remove all seeds, stems, and cores before using them. These parts are not good for dogs and should be left out.
Go for firm, crisp apples like Honeycrisp or Gala. After cleaning, grate or dice the fruit finely. This way, it mixes well into your dough and keeps your dog safe and happy.
Flavor Combinations Your Dog Will Love
Finding the right mix of fruit moisture and cheese richness is key. For deliciously chewy dog treats, follow these tips:
- Sharp cheddar adds a flavor dogs can’t resist.
- Adjust flour if the apple mixture is too wet.
- Make sure all pieces are the same thickness for even baking.
- Keep the crisps in an airtight container to keep them fresh.
This recipe is great for adding new, natural flavors to your dog’s snacks. By trying different ingredients, you offer a wholesome alternative to store-bought treats. Your pup will thank you for these special, homemade chewy dog treats.
Carrot and Parsley Breath Fresheners
Get rid of stinky dog breath with these easy, homemade snacks. They’re a hit with dogs. By mixing fresh herbs with crunchy veggies, you make crunchy dog treats. These treats help keep your pet’s mouth fresh.
Natural Ways to Improve Canine Oral Health
Fresh parsley is a natural breath freshener. It fights off bad smells. Pairing it with carrots makes a snack that makes dogs chew a lot.
This chewing is key. It helps reduce plaque buildup on teeth. This simple recipe boosts your dog’s dental health and gives them a tasty treat.
Baking for Maximum Crunch
To keep treats crunchy, bake at low heat. After baking, turn off the oven. Let the snacks stay in for an hour to dry out.
This trick makes your crunchy dog treats just right. With this recipe, you can store these snacks for a long time. Your dog will always have a healthy snack ready.
Banana and Coconut Oil Delights
Adding tropical flair to your kitchen makes delicious, healthy dog treats. Mashed bananas and coconut oil mix to create a soft, chewy snack. Dogs love it.
The Role of Healthy Fats in Your Dog’s Diet
Coconut oil is full of good fats. These fats help your dog’s skin and energy. They make your pet feel great.
But add these fats in small amounts. Too much can upset your dog’s stomach. Always talk to your vet about your dog’s diet.
Storage Tips for Oil-Based Treats
These snacks need special care because of the oils. Store them in an airtight container in a cool, dry place. This keeps them fresh for your dog.
In warm places, keep them in the fridge. This keeps the coconut oil good and the treats last longer. Always check for bad smells before giving them to your dog.
Tips for Storing and Preserving Your DIY Treats
When your kitchen smells like a bakery, you need a plan. Proper storage is essential to maintain the quality of your homemade dog treats. By following a few simple steps, you can keep every bite as tasty as the first.
Proper Dehydration Techniques
Removing excess moisture is key to a long-lasting snack. If your treats feel soft after baking, try placing them in a turned-off oven. Open the door a bit for an hour. This gentle drying process prevents mold and keeps treats crisp.
Using a food dehydrator is also a good idea for large batches. It pulls out water content, extending snack shelf life. Always ensure the treats are completely cool before sealing them in a container to avoid steam.
Shelf Life and Refrigeration Guidelines
Storing snacks depends on the ingredients. Treats with fresh produce or meat should stay in the fridge. Keep them in an airtight container for up to two weeks.
For pantry storage, bake treats until very dry. Store them in a cool, dark place. For longer storage, freeze for up to three months. Always check for signs of spoilage before serving. Keep your pantry stocked with these healthy rewards for your furry friend.
Conclusion
Baking treats for your dog is a fun way to bond and give them healthy snacks. You can now make tasty, crunchy treats at home. These treats are better than store-bought ones because you control the ingredients.
Your kitchen is where you can try out new recipes with healthy ingredients. You can make treats that fit your dog’s diet and taste. This way, you avoid bad stuff found in many commercial treats.
Keep trying new flavors to see what your dog likes best. Share your best recipes with other dog owners. Making treats at home shows you care, and your dog will thank you.


