
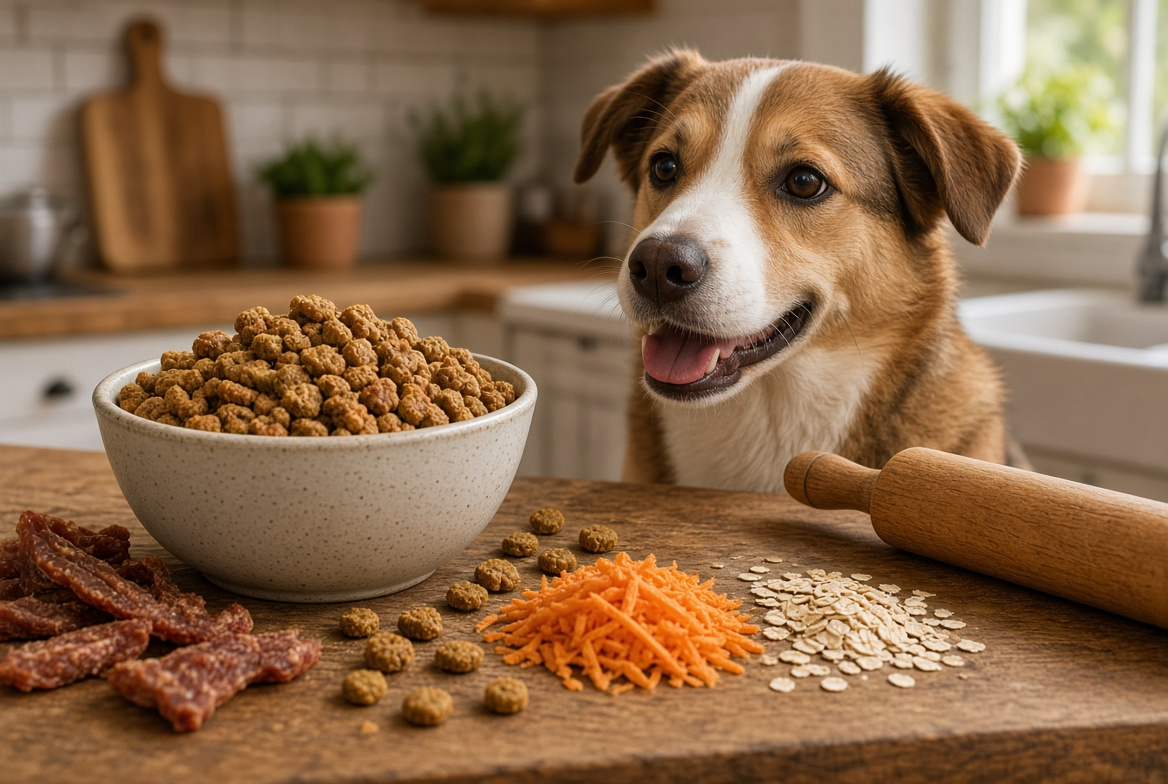
6 Dry Dog Food Recipes: How to Make Your Own Kibble
You look into those soulful eyes and know that nothing is too good for your furry friend. Giving them the best nutrition is a beautiful way to show love. If you’re ready to go beyond store-bought bags, you’re in the right place.
This guide has 6 dry dog food recipes for pet parents who care about quality. We look at different protein sources, such as chicken, turkey, beef, salmon, lamb, and pork. These dog food recipes are great for managing health needs or serving fresher meals.

First, we cover important safety tips, cooking techniques, and storage. Learning how to make your own kibble needs careful planning. We talk about serving sizes and why a vet’s review is key. Let’s start this journey to better health for our dogs together.
Decide Whether Homemade Kibble Fits Your Dog’s Needs
Before you start mixing ingredients, think if making your own kibble is right for your dog. It’s appealing to control every ingredient, but it’s a big commitment. Making homemade dog food is rewarding, but it’s a serious decision.
Consider your dog’s age, size, activity level, and health conditions
Every dog has special needs that change as they grow. A puppy needs different nutrients than an older dog with joint problems. You must consider your dog’s energy needs, as active dogs require more calories.
If your dog has allergies or health issues, you need to be extra careful. Tailoring the diet to these needs is a big plus of homemade meals. Always think about your dog’s current health when planning.
Understand why homemade food may need professional balancing
Many homemade dog food recipes don’t have the right balance of nutrients. Without the right mix, your dog could face health problems. It’s crucial to get calcium and phosphorus just right.
Getting the right balance is more than just mixing ingredients. You might need special additives to keep the food complete. Professional guidance is key to making sure your recipe is safe.
Ask your veterinarian about supplements and long-term feeding
Before switching to homemade food, talk to your vet. They can check if your plan gives your dog all the essential nutrients they need. Your vet can also suggest supplements to fill any gaps.
Talking about your long-term plan helps keep your dog healthy and happy. Don’t be afraid to ask for a vet nutritionist if you want the safest meals. Your dog’s well-being is the most important thing in this decision.
Choose Safe, Nutrient-Dense Ingredients for Homemade Dog Food
When you start cooking for dogs, the quality of your ingredients matters most. You need to pick items that give the right mix of amino acids, vitamins, and minerals. Your pet relies on you to choose the best for their health and energy.
Use complete protein sources suited to dogs
High-quality animal proteins are key for your pet’s muscles and tissues. Choose lean meats like chicken, turkey, beef, and lamb, or fish like salmon. These give dogs the amino acids they can’t make on their own.

Select digestible carbohydrates and fiber-rich produce
Carbohydrates give your dog the energy they need to stay active. Go for easy-to-digest options like brown rice, oats, barley, or quinoa. Adding fiber-rich veggies like carrots, green beans, zucchini, and sweet potatoes helps with digestion and keeps them full.
Avoid toxic ingredients such as onions, garlic, grapes, raisins, and xylitol
Safety is key when making homemade dog food. Always avoid ingredients toxic to dogs. Onions, garlic, grapes, and raisins can harm them, and xylitol is very dangerous, even in small amounts.
Choose dog-safe oils, eggs, and calcium sources carefully
Fats are good for your dog’s skin and coat, but pick them wisely. Use dog-safe oils like fish oil or flaxseed oil in small amounts. Eggs are great for protein, and calcium should come from vet-approved sources to keep your dog’s bones strong.
6 Dry Dog Food Recipes: How to Make Your Own Kibble
Making homemade kibble lets you pick every ingredient for your dog. These dog food recipes are a good start. But always check with a vet to make sure it’s right for your dog.

Chicken, brown rice, carrot, and green bean homemade kibble
Ingredients and proportions for a mild, everyday recipe
Start with two cups of cooked chicken breast and one cup of brown rice. Add half a cup of chopped carrots and half a cup of steamed green beans. This mix is balanced and gentle.
How to cook, blend, shape, and dry the kibble
Blend the ingredients in a food processor until thick. Make small balls or squares. Bake until they’re firm and dry.
Good serving ideas and ingredient adjustments
Use this as a main meal or a tasty topper. For more texture, leave the veggies chunkier.
Turkey, oats, pumpkin, and apple homemade kibble
Ingredients and proportions for sensitive stomachs
Combine two cups of cooked turkey with one cup of oats. Add half a cup of pumpkin and one diced apple. It’s easy to digest for sensitive dogs.
How pumpkin and oats affect texture and digestion
Pumpkin helps with digestion and fiber. Oats give energy slowly, keeping your dog full.
Safe preparation steps for turkey and apple
Cook turkey without salt or seasonings. Remove apple seeds and core to avoid choking.
Lean beef, barley, sweet potato, and spinach homemade kibble
Ingredients and proportions for an iron-rich recipe
Use two cups of lean beef with one cup of barley. Add half a cup of sweet potato and a quarter cup of spinach. It’s great for active dogs needing iron.
How to cook the beef and soften the vegetables
Brown the beef, then drain fat. Steam sweet potato and spinach until soft.
Portion considerations for active and larger dogs
Bigger dogs might need more food. Watch their weight and adjust food amounts as needed.
Salmon, quinoa, green beans, and egg homemade kibble
Ingredients and proportions for an omega-3-rich recipe
Combine two cups of salmon with one cup of quinoa. Add half a cup of green beans and one egg. It’s full of healthy fats for a shiny coat.
How to remove bones and control moisture from salmon
Check salmon for bones. Pat dry with a paper towel to avoid wet dough.
Ways to reduce fish odor during baking and storage
Add dried parsley to reduce fish smell. Store in an airtight container to keep it fresh.
Lamb, chickpea, zucchini, and carrot homemade kibble
Ingredients and proportions for a protein-variety recipe
Mix two cups of lamb with one cup of chickpeas. Add half a cup of zucchini and carrots. It’s a delicious mix for dogs who like variety.
How to cook chickpeas and prevent a crumbly dough
Cook chickpeas until soft for easy digestion. Add water or an egg if the dough is crumbly.
When to avoid richer lamb-based recipes
Lamb is rich and may not be good for dogs with pancreatitis. Talk to your vet before adding it to your dog’s diet.
Pork, brown rice, peas, and egg homemade kibble
Ingredients and proportions for a budget-friendly recipe
Combine two cups of pork with one cup of brown rice. Add half a cup of peas and one egg. It’s a cost-effective choice for many.
How to cook pork thoroughly and bind the mixture
Cook pork until browned and no pink remains. The egg helps the ingredients stick together.
How to modify the recipe for dogs with food sensitivities
If your dog has allergies, try swapping brown rice for quinoa. Introduce new ingredients slowly to watch for reactions.
Gather the Equipment for DIY Dog Kibble
Setting up your workspace is the first step to making homemade pet food. Having the right tools ensures your diy dog kibble is made safely and well every time.
Use a food processor, baking sheets, parchment paper, and a rolling pin
A food processor is key for making the mix uniform. Then, use a rolling pin to flatten the dough on baking sheets.
Line your pans with parchment paper to avoid sticking and make cleaning easy. This step helps you get the same results every time.
Prepare a dehydrator or low-temperature oven for thorough drying
Removing moisture is crucial for keeping your food fresh. You can use a food dehydrator or your oven on the lowest setting.
This step is important to prevent spoilage. Making sure your diy dog kibble is dry keeps it safe for your pet.
Keep a kitchen scale and measuring cups available for consistent batches
Being precise is key for a balanced diet. A kitchen scale lets you weigh ingredients accurately, which is better than measuring by volume.
Measuring cups are good for quick checks, but a scale is best for making the same recipe over and over. With these tools, you can make diy dog kibble that meets your pet’s needs every time.
Cook, Shape, and Bake Homemade Kibble Safely
When you start cooking for dogs, how you handle ingredients is key. A structured process makes sure each batch is healthy and safe for your pet.
Cook meat, eggs, grains, and legumes before forming the dough
First, cook all proteins and starches fully. Raw meat, eggs, and some legumes can have harmful bacteria. Always make sure these are well-cooked before mixing them into dough.
Blend ingredients into a firm, evenly hydrated mixture
After cooking, mix the ingredients in a food processor. Aim for a firm dough that holds its shape well. This ensures your diy dog kibble is of high quality and easy to eat.

Roll and cut into small pieces appropriate for your dog’s jaw size
Once the dough is right, roll it out. Use a knife or cookie cutter for small pieces. Make sure they fit your dog’s jaw to avoid choking.
Bake until the center is fully cooked and the surface is dry
Put the pieces on a baking sheet with parchment paper. Bake at a low temperature. This cooks the center fully without burning the outside.
Finish with gentle dehydration to reduce moisture without burning the food
The last step is to remove extra moisture. Use a dehydrator or a low oven to dry the pieces slowly. This keeps nutrients in and makes the kibble last longer.
Dry and Cool the Kibble Before Storage
Keeping your homemade kibble dry is key. Even if it looks dry outside, it might still be wet inside. Make sure it’s fully dry to keep your dog healthy and the food fresh.

Test several pieces for moisture in the center
Check if your food is ready by testing different pieces. Break them open to see if they’re dry inside. If they’re still soft or damp, they need more drying time.
Cool the kibble completely before sealing the container
Don’t put warm food in a storage bin. Sealing it while it’s still warm can cause moisture. This moisture is perfect for bacteria and mold to grow, ruining your food.
Recognize signs of under-drying, mold, spoilage, or rancid oils
Do a quick check before serving or storing your food. Look for signs that it’s not safe. If you see any of these, throw it away to keep your pet safe:
- Unusual odors: Sour, fermented, or sharp smells mean it’s spoiled.
- Visible mold: Fuzzy spots or color changes mean it’s contaminated.
- Altered texture: Slimy or too soft means it’s not dry enough.
- Rancid oils: Bitter or “off” smells mean the fats have gone bad.
Always trust your senses with homemade kibble. If it doesn’t look, smell, or feel right, don’t risk your pet’s health. Good preparation and storage mean your dog gets a safe, healthy meal every time.
Store Homemade Pet Food for Freshness
Keeping your homemade pet food recipes fresh is key. Since you don’t use chemical preservatives, you need to pay extra attention. This ensures your dog gets the best food.

Use airtight containers and label each batch with the preparation date
Store your kibble in airtight containers to keep it fresh. Glass jars or BPA-free plastic bins are good choices.
Be sure to clearly label each container with the date. This helps you use the oldest batches first.
Refrigerate short-term portions and freeze larger quantities
For batches you’ll use in a few days, the fridge is fine. But for longer storage, freezing is best.
Freeze your pet food recipes in daily portions. This way, you thaw only what you need, saving food and keeping it fresh.
Discard kibble that develops an unusual smell, texture, or appearance
Always watch your food’s condition, even with good storage. If it smells bad, looks weird, or has mold, throw it away.
Don’t try to save pet food recipes that are spoiled. Your dog’s health is more important than saving food. It’s better to make a new batch.
Serve Homemade Kibble in Appropriate Portions
When you make homemade pet food, it’s key to control portions. Every dog needs different amounts of food based on their life and how fast they burn calories. Giving the same amount to all dogs can cause weight gain or missing nutrients.
Base portions on calories, body condition, and veterinary guidance
Your vet knows how many calories your dog needs. They look at your dog’s body score and how active they are. Always change the amount if your dog’s activity or weight changes.
Measure food by weight instead of relying only on volume
Using a kitchen scale is better than a measuring cup. Homemade pet food can have different densities. Weighing food ensures your dog gets the right nutrients.
- Use a digital kitchen scale for precision.
- Record the weight of each meal in a log.
- Adjust the weight if your dog gains or loses weight unexpectedly.
- Compare the weight of the food against your vet’s caloric recommendations.
Add approved supplements only according to professional instructions
It’s tempting to add extra vitamins or minerals. But be careful. Only add supplements your vet recommends. Over-supplementation can harm your dog, so follow your vet’s advice closely.
Keep fresh water available with every meal
Drinking water is key for digestion, even with dry kibble. Make sure your dog always has clean, fresh water. Consistent hydration helps your dog digest food better and keeps their kidneys healthy.
Transition Your Dog to Homemade Kibble Gradually
Introducing homemade kibble is a big step for better nutrition. Your dog’s stomach needs time to get used to new foods and textures. A slow start helps avoid upset stomachs and makes the transition smooth.
Mix small amounts of the new food with the current diet
Begin by adding a small amount of homemade kibble to their usual food. Start with 25% new food and 75% old food. This helps their gut adjust slowly without shock.
Increase the homemade portion over several days
If your dog does well with the first mix, you can add more homemade kibble over time. Increase it by 25% every two to three days. By then, they should be eating all new food.
Slow the transition if your dog develops vomiting, diarrhea, or appetite changes
Watch your dog closely for signs of upset stomach. If they vomit, have diarrhea, or lose interest in food, slow down. You might need to stay at the current mix for a few more days. If problems don’t go away, talk to your vet to keep your dog healthy.
Adjust Recipes When Your Dog Has Digestive or Allergy Concerns
Even the best homemade dog food recipes can upset your dog’s stomach. If your dog seems uncomfortable, stay calm and figure out what’s wrong. Don’t just guess which ingredient is the problem, as this can mess up their diet.
Track ingredients and symptoms in a simple food diary
Keeping a detailed log of what your dog eats is the best way to find the problem. A simple food diary helps you notice patterns you might miss. Consistency is key for your dog’s health.
Here’s what to write down every day:
- The specific ingredients used in your dog food recipes.
- The exact portion sizes served at each meal.
- Any physical symptoms like itching, gas, or loose stools.
- The timing of meals in relation to when symptoms appear.
Replace common proteins only with veterinarian-approved alternatives
If you think a protein is causing an allergy, don’t just change it without checking. Different proteins have different nutrients that your dog needs. Always talk to your vet before changing your homemade dog food recipes.
Your vet can suggest safe, hypoallergenic proteins that are just as nutritious. They make sure the new protein is safe and doesn’t cause other problems. Professional guidance helps your dog stay healthy while you make these changes.
Do not use elimination diets without professional guidance
It might seem easy to try an elimination diet on your own. But these diets are complex and need medical supervision. Trying to limit food groups without a vet’s help can harm your dog’s health.
Always work with your vet to create a safe diet plan for your dog. They can help you avoid allergies while keeping your dog’s diet balanced. Your dog’s long-term wellness depends on making informed, medically sound decisions.
Review Homemade Kibble With Your Veterinarian
Before you start a long-term feeding plan, talk to your vet about your homemade pet food recipes. Even the best ingredients need a vet’s check to make sure they’re right for your dog. Your dog’s health is the top priority, and a vet can spot nutritional mistakes.
Ask whether the recipe meets your dog’s life-stage requirements
Dogs have different needs based on their age and how active they are. Puppies need more protein and fat than older, less active dogs. Show your homemade pet food plan to your vet to see if it’s right for your dog’s age and activity level.
Discuss calcium, essential fatty acids, vitamins, and trace minerals
Getting the right mix of nutrients is hard with DIY food. Talk to your vet about the following to avoid any nutritional gaps:
- Calcium-to-phosphorus ratios for strong bones.
- Omega-3 and Omega-6 fatty acids for healthy skin and coat.
- Vitamin supplementation to fill in gaps from whole foods.
- Trace minerals like zinc, copper, and iodine.
Schedule periodic weight checks and health monitoring
Nutritional needs can change over time. It’s smart to have regular vet visits to check your dog’s weight and health. This way, you can adjust your homemade pet food to keep your dog happy and healthy for a long time.
Conclusion
Making your own dog food at home is rewarding. It lets you control what goes into your dog’s meals. You need to be careful when preparing, drying, and storing the food.
Every dog is different, needing the right amount of food based on their size and how active they are. Make sure to adjust the recipes to fit your dog’s needs. Always check with a vet to keep the food healthy and balanced.
Start slowly when introducing new food to your dog. Watch for any signs of upset stomach or changes in energy. This shows you care about your dog’s health and well-being every day.


