
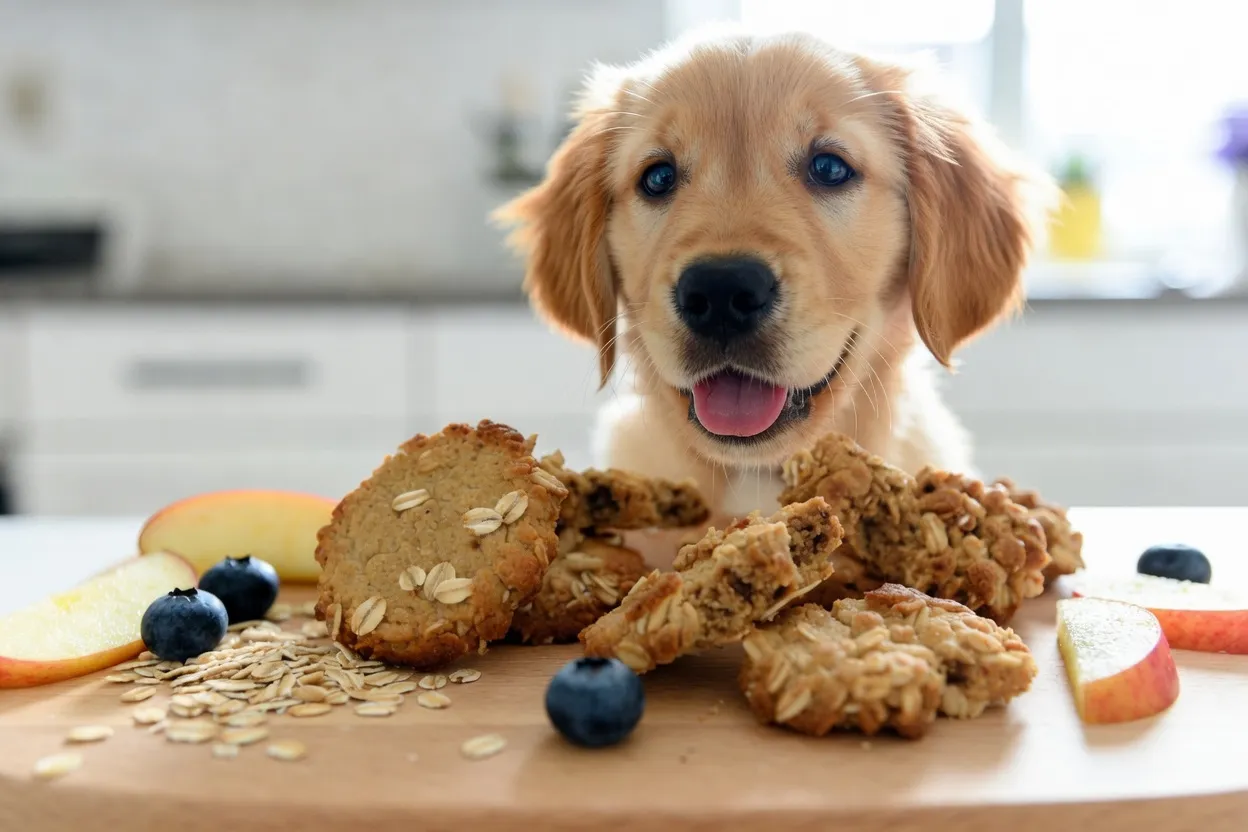
Discover Healthy Oat Dog Treats Your Pet Will Love
There’s a special magic when your pet greets you at the door. You want to give them the best, making sure every snack boosts their energy and joy. Baking at home lets you pick what goes into their food, especially showing your love.

Using top-notch ingredients is key to a happy life for your pet. Making healthy dog treats yourself means no bad stuff in their food. This not only feeds them well but also brings you closer together. Soon, your home will smell amazing, and your dog will be excited for their treats.
Why Oats Are a Superfood for Your Dog
Oats are more than just a breakfast staple for humans; they are a nutritional powerhouse for your canine companion. When you choose to bake Oat Dog Treats, you provide a wholesome snack that supports overall vitality. These grains offer a gentle energy source that keeps your pet active and happy throughout the day.
Nutritional Benefits of Oats
Integrating oats into your pet’s diet introduces a wealth of essential nutrients. They are packed with vitamins and minerals that contribute to a shiny coat and strong immune system. By preparing natural dog treats at home, you ensure your dog receives high-quality fuel without unnecessary fillers.
- Linoleic acid: A type of omega-6 fatty acid that helps keep skin strong.
- B Vitamins: Essential for maintaining healthy energy levels.
- Zinc and Iron: Vital minerals that support metabolic function.
- Antioxidants: Help combat oxidative stress in aging dogs.
Digestive Health and Fiber Content
One of the primary reasons to love oats is their impressive fiber content. This fiber acts as a natural regulator for your dog’s digestive system, promoting regularity and comfort. Because oats are slow-digesting, they help your dog feel full and satisfied for longer periods, which is perfect for weight management.
Healthy digestion is the cornerstone of a happy pet. When your dog feels good on the inside, it shows in their playful behavior and bright eyes. Using oats as a base for your snacks is a simple way to support their gut health every single day.
When to Choose Grain-Free Alternatives
While oats are excellent for most dogs, some pets have specific dietary sensitivities that require a different approach. If your veterinarian has diagnosed a grain allergy or a sensitive stomach, you may need to pivot to grain-free dog treats. These alternatives often utilize ingredients like chickpeas, sweet potatoes, or coconut flour to provide structure.
Always monitor your dog for signs of discomfort, such as itching or digestive upset, when introducing new ingredients. If you notice these symptoms, switching to grain-free dog treats can be a game-changer for your pet’s comfort. Providing natural dog treats that align with your dog’s unique needs is the best way to show your love.
Essential Kitchen Equipment for Baking Dog Treats
Having the right tools makes making homemade dog treats easy and fun. A well-organized space lets you enjoy making healthy snacks for your dog. A few good tools save time and keep your baking smooth.
Must-Have Mixing Tools
You need reliable tools for mixing ingredients. Non-toxic stainless steel or glass mixing bowls are best because they don’t hold smells or germs. A sturdy silicone spatula is also key for getting all dough from the bowl.
- Large mixing bowls for easy stirring.
- Silicone spatulas for thorough mixing.
- Measuring cups and spoons for precision.
- A rolling pin to achieve consistent thickness.
Choosing the Right Cookie Cutters
Making homemade dog treats is fun because you can make cute shapes. Look for durable metal or BPA-free plastic cutters that are easy to clean. Uniform shapes help treats bake evenly, so they don’t burn or stay raw.
Collect different shapes like bones, hearts, or paw prints. These add a delightful touch to your baking. Make sure cutters are sharp for clean edges without dragging dough.
Safe Baking Mats and Pans
The right surface is key for perfect texture. Silicone baking mats are great because they’re non-stick and don’t need extra oils. They’re also eco-friendly and make treats easy to remove once cool.
If you like traditional baking sheets, choose heavy-duty pans for even heat. A good pan prevents hot spots that cause uneven browning. These tools make baking safe and fun for the future.
Selecting High-Quality Ingredients for Oat Dog Treats
The secret to great homemade snacks is in the ingredients. By choosing what goes into your kitchen, you make sure your pet gets the best. Using premium components is key to making tasty and safe treats for your furry friend.
Choosing Organic Rolled Oats
When making oat dog treats, the quality of your oats is crucial. Organic rolled oats avoid pesticides and synthetic fertilizers. These oats give your dog the fiber they need for a happy, healthy life.
Safe Additives and Flavor Enhancers
You can make your natural dog treats more appealing with safe flavor enhancers. Try using pureed pumpkin, unsweetened applesauce, and natural peanut butter. Make sure your peanut butter doesn’t have xylitol, as it’s harmful to pets.
Ingredients to Avoid for Canine Safety
Making organic dog treats means being careful about what you use. Some common items are toxic to dogs and should never be used. Here are some ingredients to avoid:
- Xylitol (often found in sugar-free products)
- Grapes and raisins
- Onions, garlic, and chives
- Chocolate or cocoa powder
- Macadamia nuts
By knowing what to avoid, you keep your natural dog treats safe and healthy for your pet. These simple steps let you bake with confidence and love.
Preparing Your Kitchen for Dog-Friendly Baking
A clean kitchen is key to making great dog snacks at home. Keeping your kitchen clean is vital to avoid cross-contamination. This ensures your treats are safe and healthy for your pet.

Sanitization and Safety Protocols
Start by wiping down all countertops with a pet-safe cleaner. This step removes harmful chemicals and bacteria. Always check that your sponges and towels are clean to avoid germs.
If you’ve handled raw meat or human food, clean your area well. This step helps keep your pet safe from foodborne illnesses. A clean workspace is crucial for baking.
Organizing Your Workspace
Being efficient is important in the kitchen. Gather all your tools and ingredients before starting. This makes baking dog snacks fun and stress-free.
Put your mixing bowls, rolling pins, and cookie cutters where you can easily find them. Having everything in its place helps you focus on the recipe. Organization makes baking a fun activity for you and your dog.
Step One: Preparing the Oat Flour Base
Learning to grind your own flour is key to making great homemade treats. Using whole oats makes your treats fresh and without extra stuff. This step is crucial for making organic dog treats your pet will love.
How to Grind Oats Properly
Start by putting your rolled oats in a clean, dry food processor. It’s best to grind in small batches for even results. Use the pulse setting to avoid overheating the oats.
Quick pulses help prevent the oats from becoming gummy. Keep going until the oats turn into a fine powder. This method lets you control the flour’s texture.
Achieving the Right Consistency
Try to get a flour-like consistency that sticks well with other ingredients. If it’s too coarse, your dough might crumble. A smooth flour ensures your organic dog treats keep their shape after baking.
Check the texture by rubbing some between your fingers. It should feel soft and even, like store-bought oat flour. When it’s just right, you can make tasty, healthy snacks for your pet.
Step Two: Mixing Your Dough Ingredients
Making the perfect dough for your dog snacks is all about balance. Start with oat flour, then mix it with wet and dry parts. This step is essential for your treats to keep their shape while baking.
Combining Wet and Dry Components
Put oat flour in a big bowl. Add wet stuff like eggs, pumpkin, or chicken broth slowly. Stir well to mix.
Use a strong spatula or your hands to feel the dough. It should stick together well. If it’s too dry, add a little water or broth.
Adjusting Texture for Perfect Rolling
Your dough should be firm but soft, like cookie dough. If it’s too wet, add more oat flour. This makes it easier to work with.
Getting this right means your dog snacks will always turn out great. When the dough is smooth and doesn’t stick, it’s ready for the next step. This ensures your dog snacks will be easy to shape and bake well.
Step Three: Rolling and Cutting Your Treats
Rolling and cutting your dog biscuits right is key. It makes sure they bake evenly every time. This way, all your treats will have that perfect crunch your dog loves.
Techniques for Even Dough Thickness
For the best results, use a rolling pin with adjustable rings. Or place two wooden dowels on either side of your dough. These tools help keep your rolling pin at a consistent height.
If your dough sticks, dust your parchment paper with oat flour. This makes it easier to handle.
- Always roll from the center outward to maintain an even distribution.
- Rotate the dough frequently to prevent it from adhering to the counter.
- Use a silicone mat to provide a non-slip surface for easier handling.
- Check the thickness periodically to ensure it matches your recipe requirements.
Creative Shapes Your Dog Will Enjoy
Once your dough is flat, get creative with cookie cutters. Making unique dog biscuits makes baking fun. You can use classic bone shapes or try seasonal designs like hearts or stars.
Remember, smaller shapes are great for training, while bigger ones are perfect rewards. By trying different cutters, you make tasty dog biscuits that look great too. Your dog will love the special treats you make for them.
Step Four: Baking and Dehydrating for Longevity
To get that perfect crunch in your homemade snacks, you need to watch your oven closely. The fun starts in the baking phase. Here, your dog biscuits come to life. By keeping the temperature just right, you make sure they are safe, tasty, and just right for your dog.

Optimal Oven Temperatures
Most dog treat recipes need a moderate oven temperature for even cooking. Preheat your oven to 350°F (175°C) for the first bake. This temperature cooks the dog biscuits through without burning the edges.
Watch your oven for the first twenty minutes of baking. If the edges get too brown, try lowering the temperature by 25 degrees. Consistency is the key to a result your pet will love.
Ensuring the Perfect Crunch
To make your treats last longer, remove extra moisture after baking. After the timer goes off, lower your oven to its lowest setting, about 200°F (95°C). Leaving the dog biscuits in for another hour dehydrates them gently.
This step gives your treats a hard, satisfying crunch. It helps clean your dog’s teeth while they chew. Let the treats cool completely on a wire rack before serving. Cooling is key to keeping them fresh for weeks.
Storing and Preserving Your Homemade Dog Treats
Keeping your pet’s homemade dog treats fresh is key. Since they don’t have preservatives, they need extra care. Follow a few easy steps to keep them safe and tasty for your dog.
Proper Airtight Storage Methods
Keep your homemade dog treats dry to avoid mold. Let them cool on a wire rack before storing. Use glass jars or BPA-free containers with tight-fitting lids to keep moisture out.
For bags, choose vacuum-sealed pouches to remove air. Adding a food-grade silica gel packet can also help. This keeps the treats crunchy for your dog.
Shelf Life and Refrigeration Tips
Homemade treats last about a week at room temperature. If it’s warm or humid, refrigerate them right away.
Freezing is best for longer storage. Your homemade dog treats can stay fresh for three months in the freezer. Thaw them in the fridge or on the counter before serving. Always check for spoilage before giving them to your pet.
Incorporating Treats into Your Dog Training Routine
You can turn your kitchen into a place for training your dog. Making your own treats means your dog gets the best rewards. It makes learning fun, not a chore.

Using Treats as Positive Reinforcement
Positive reinforcement is key for teaching new tricks. Giving healthy dog treats right after they do something good links the action to the reward. This is essential for clear communication.
Keep training sessions short and fun to keep your dog’s attention. Use small homemade snacks to reward them often. This helps them know what you want.
Managing Daily Caloric Intake
It’s important not to overdo the treats. They should be a small part of your dog’s daily calories. Adjust their main meals if you give a lot of snacks.
Watching your dog’s weight is crucial. If they gain weight, cut down on treats or add more exercise. This keeps them healthy, happy, and eager to learn.
Troubleshooting Common Baking Issues
Even the most skilled home bakers sometimes face problems. You might find your dough doesn’t mix right. This can happen when making grain-free dog treats or simple oat snacks. A few tweaks can fix these issues.
Fixing Crumbly or Sticky Dough
If your dough is too crumbly, it needs more moisture. You can gently add a little water or broth at a time. This makes the dough easier to work with.
On the other hand, if your dough is too sticky, it needs more structure. Sprinkle some extra oat flour on your surface and mix it in. This helps your grain-free dog treats keep their shape while baking.
Adjusting Recipes for Picky Eaters
Maybe your dog doesn’t like a new recipe, even if it looks great. You can change the recipe to suit their taste. Try adding a bit of unsalted peanut butter or pureed pumpkin for more flavor.
If your pet likes stronger smells, add a little cinnamon or dried parsley to the dough. These natural ingredients can make your grain-free dog treats more appealing. By making them to your dog’s liking, you’ll always have a hit.
Conclusion
Baking your own snacks changes how you connect with your furry friend. You can now make healthy, tasty rewards that are good for your dog. These homemade treats are great for training and keep your pet excited to learn.
Starting to cook in the kitchen lets you try many new flavors. Making different shapes and textures keeps your pet looking forward to each session. Using these treats helps strengthen your bond and ensures your pet gets the best food.
Don’t be afraid to share your favorite recipes with other pet owners. Your commitment to healthy food makes a big difference in your dog’s life. Keep trying new recipes to keep your pet happy, healthy, and eager for every activity.


