
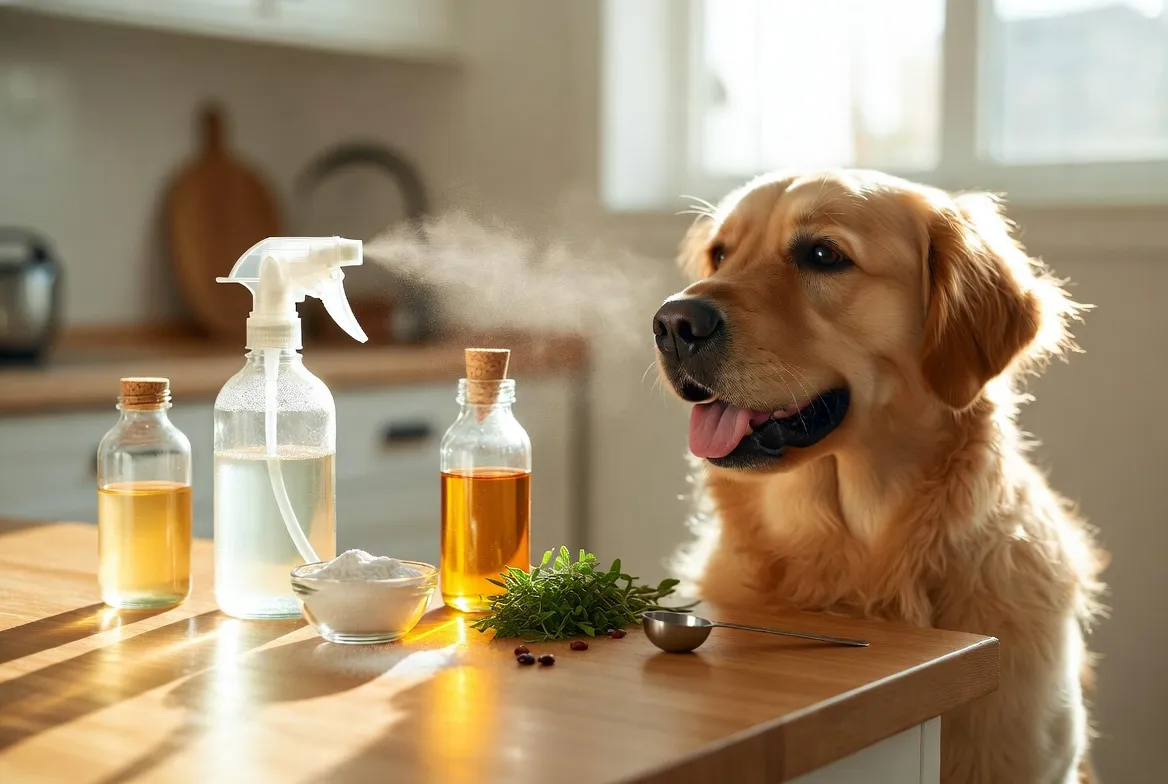
How to make a DIY dog deodorizing spray at home
There’s nothing like cuddling with your best friend after a long day. But our pets can pick up bad smells outside. You want your home to smell good without using harsh chemicals.

Making a diy dog deodorizing spray is a great way to care for your pet. You can use natural ingredients to keep them clean and comfy. This way, you avoid harsh chemicals that might hurt their skin.
Choosing natural care for your pet makes your bond stronger. It lets you give them gentle, high-quality care that keeps them smelling fresh. Let’s see how you can make these safe solutions in your kitchen.
Why You Should Choose a Natural Dog Odor Eliminator
Choosing a natural dog odor eliminator is a smart move for your dog’s health. Many sprays use harsh chemicals that can harm your pet. Plant-based options keep your grooming safe and effective.
The benefits of avoiding synthetic fragrances
Synthetic fragrances can cause respiratory issues in dogs. If your pet sneezes or gets irritated after grooming, it’s probably the scent. A natural dog odor eliminator avoids these risks.
Artificial additives can also cause skin allergies in dogs. You might see redness, itching, or dry skin. Natural ingredients offer a gentler experience for your pet.
How natural ingredients support skin health
Natural formulas work well with your dog’s body. They help maintain the natural oils of their coat. This keeps their coat healthy and shiny.
Using a natural dog odor eliminator keeps your pet fresh without harming their skin. Healthy skin protects against irritants and discomfort. Choosing plant-based solutions shows you care about your pet’s well-being.
Understanding the Safety of Homemade Pet Odor Remedies
When you make a homemade pet odor remedy, your dog’s safety is key. Natural ingredients might seem safe, but some can harm your pet. It’s important to check every ingredient to keep grooming safe for all.

Identifying toxic ingredients to avoid
Not all natural things are safe for dogs. Avoid tea tree oil, wintergreen, and pennyroyal. These can be highly toxic to dogs. Always check with vets before mixing.
Also, don’t use xylitol or alcohol in your non-toxic dog deodorizer formula. These can cause serious health issues or skin problems. Keep a list of things to avoid to stay safe while making DIY products.
Why pH balance matters for canine skin
Knowing your dog’s skin chemistry is crucial. Dog skin is more alkaline than human skin, with a pH of 6.5 to 7.5. Human products can upset this balance, causing dryness and infections.
A good non-toxic dog deodorizer formula keeps this balance. It uses ingredients that meet your dog’s needs, providing soothing care. This helps keep their coat healthy and shiny. Always choose formulas that protect the skin’s acid mantle for safety and effectiveness.
Essential Ingredients for Your DIY Dog Deodorizing Spray
Knowing the chemistry of your ingredients is key. It makes sure your diy dog deodorizing spray is safe and works well. Choosing high-quality parts lets you avoid harsh chemicals and control what touches your pet’s skin.
The role of distilled water as a base
Distilled water is the base for a good pet-friendly deodorizing spray. It’s different from tap water because it doesn’t have minerals or impurities. Using a pure base keeps your mix fresh longer.
Using apple cider vinegar for odor neutralization
Apple cider vinegar is a strong pet odor neutralizing spray part. Its natural acidity balances your dog’s skin pH, getting rid of bad smells. Always use raw, unfiltered vinegar for the best results.
Incorporating vegetable glycerin for coat conditioning
Vegetable glycerin is great for your diy dog deodorizing spray. It pulls moisture into the hair, making your dog’s coat soft and shiny. This turns a simple pet-friendly deodorizing spray into a skin health booster.
Together, these ingredients make a balanced pet odor-neutralizing spray that’s gentle for daily use. This simple mix gives you a professional-grade finish at home. You’ll feel good knowing what’s in your grooming products.
Gathering the Right Equipment for Mixing and Application
Making a non-toxic dog deodorizer formula starts with the right tools. Having the right equipment makes the process easier and more fun. It also keeps your product safe and effective for your pet.

Selecting the right spray bottle materials
The container you pick is very important. Essential oils and natural ingredients can harm low-quality materials. So, picking the right one is essential for success.
- Amber or Cobalt Glass: These protect your ingredients from light damage.
- BPA-Free Plastic: If you choose plastic, make sure it’s high-quality and BPA-free to avoid chemical leaks.
- Fine-Mist Sprayers: Look for bottles with a good nozzle for an even, light spray.
Cleaning and sanitizing your mixing tools
Before starting, make sure all bowls, spoons, and funnels are clean. Old residues can ruin your non-toxic dog deodorizer formula fast. Here’s how to keep your space clean:
- Wash all tools in hot, soapy water to remove oils and dust.
- Rinse well with clean water to remove soap.
- Sanitize with rubbing alcohol to wipe down tools.
- Let everything air dry on a clean towel before mixing.
These steps protect your ingredients. A clean workspace is the best foundation for any DIY pet care project.
Step-by-Step Guide to Mixing Your DIY Dog Deodorizing Spray
You can easily make your own pet care solutions at home. By following a structured approach, you ensure your diy dog deodorizing spray is consistent and effective. Precision is the secret to achieving a professional result in your own kitchen.

Measuring your base liquids
Start by gathering your distilled water, apple cider vinegar, and vegetable glycerin. Use a clean measuring cup to ensure your ratios remain accurate for the best results. Consistency is key when you are preparing an organic dog deodorant recipe for your pet.
Pour the distilled water into your mixing bowl first to serve as the primary base. Carefully add the measured apple cider vinegar, which acts as a natural odor neutralizer. Stir in the vegetable glycerin to provide that essential coat-conditioning boost.
Combining emulsifiers and scent agents
Once your base liquids are combined, it is time to introduce your chosen scent agents. If you are using essential oils, remember that they do not naturally mix with water. You must use a small amount of a natural emulsifier, such as a tiny drop of castile soap, to help the oils disperse evenly.
Add your selected pet-safe essential oils drop by drop into the emulsifier. Gently stir this mixture before incorporating it into your larger base liquid container. This step prevents the oils from floating on the surface and ensures a well-balanced fragrance in every spray.
Final mixing and bottling techniques
After combining all ingredients, pour the mixture into your sanitized spray bottle using a small funnel. Secure the cap tightly and give the bottle a thorough, gentle shake to integrate all components. This final step completes your organic dog deodorant recipe, making it ready for immediate use.
Always store your finished product in a cool, dark place to maintain its potency. By keeping your diy dog deodorizing spray away from direct sunlight, you preserve the integrity of the natural ingredients. You are now ready to keep your dog smelling fresh and clean using your own custom creation.
Choosing Pet-Safe Essential Oils for a Fresh Scent
Fragrance is key in your pet odor-neutralizing spray. But safety comes first. You want your home and dog to smell great. Yet, a dog’s smell is much stronger than yours.
Choosing the wrong scent can upset or harm your pet. Always think about their safety first.
Oils that are safe for dogs
For a scent, use high-quality, safe oils. These natural scents smell nice and have mild benefits. They’re perfect for grooming.
Lavender for calming properties
Lavender is a great pick for pet owners. It’s known for its calming effects. It can calm an anxious dog during grooming.
A little lavender can make grooming a relaxing time for both of you.
Chamomile for soothing sensitive skin
Chamomile is good for dogs with dry or itchy skin. It’s known for soothing sensitive skin. It also has a nice, floral smell.
It’s great in a pet odor-neutralizing spray. It keeps your dog smelling fresh without irritating their skin.
Essential oils you must never use on pets
Not all natural oils are safe for dogs. Some can be very harmful. Stay away from these dangerous oils:
- Tea Tree oil
- Wintergreen
- Pine oil
- Cinnamon
- Clove
These oils can cause breathing problems or skin burns. Always double-check your ingredients. This keeps your pet safe and happy.
How to Properly Apply the Spray to Your Dog
Learning how to use your pet-friendly deodorizing spray right makes your dog happy and clean. It’s not just about the spray itself. How you use it affects how well it works and how your pet feels. By following a few easy steps, you can make a quick clean-up a special time for both of you.
Preparing your dog for the grooming session
First, make a calm place for your dog. Pick a quiet spot where they feel safe. Use positive reinforcement like treats or kind words to make them look forward to it.
If your dog gets nervous, brush them gently first. This helps them relax and gets their coat ready for the spray. A calm dog is easier to work with.
Techniques for even distribution
Hold the bottle six to eight inches from your dog. Mist their coat lightly with a sweeping motion. This way, the pet-friendly deodorizing spray spreads evenly without making it wet.
After misting, gently brush or rub the product into their fur. This lets the ingredients get to the skin and spread the scent well. Consistency is key to keeping your dog smelling fresh.
Avoiding sensitive areas like eyes and ears
Keeping your dog safe is the most important thing. Always cover their face to stop the spray from getting in their eyes, nose, or mouth. If they don’t like the sound of the spray, spray it on your hands first and then rub it into their fur.
Be very careful around their ears. Moisture can cause irritation. If you need to clean their head, use a damp cloth with a little pet-friendly deodorizing spray. Gently wipe the fur around their neck and cheeks, moving away from their face.
Tips for Storing Your Easy Homemade Dog Spray
After mixing your grooming solution, how you store it is key. Natural ingredients need the right care. Proper storage keeps your organic dog deodorant recipe working well.
The importance of cool, dark storage
Natural ingredients, like essential oils, don’t like heat or light. Heat and light can make them lose their power fast. Always store your bottle in a cool, dark place, like a bathroom cabinet or pantry.
Keeping your spray in a stable spot helps keep the oils fresh. This keeps the scent and soothing effects strong. Consistency in temperature is key to keeping your DIY spray good.
Shelf life expectations for natural formulas
Your spray won’t last forever because it doesn’t have harsh preservatives. You can expect it to stay fresh for two to four weeks when stored right. If it smells or looks different, throw it away.
Label your bottle with the mix date to keep track. This helps you know when to make more. When in doubt, mix a new batch for the best care for your pet.
Troubleshooting Common Issues with DIY Pet Care Solutions
Even the best diy pet care solution can sometimes have small problems. These natural mixes are usually safe but might need a tweak for your dog.
What to do if the scent is too strong
If the smell is too much for your dog, it’s easy to fix. Just add a bit of distilled water to your bottle. Shake it well and test it again on a small fur patch.
Try spraying the solution on a brush instead of directly on your pet. This way, you can control the scent. Remember, a homemade pet odor remedy should be light and fresh, not overpowering.
Addressing residue buildup on the coat
Sometimes, you might see a film or stickiness on your dog’s fur. This could be from too much vegetable glycerin or not mixing well. To fix it, use less conditioning agents or more water in your next batch.
If there’s already residue, clean it off with a damp cloth. Consistency is key when adjusting your formula. Making these small changes will keep your diy pet care solution a must-have in your grooming routine.
When to Consult Your Veterinarian About Persistent Odors
Sometimes, a smell on your dog means something serious is going on. A natural dog odor eliminator helps keep them fresh daily. But, it’s not a replacement for vet care. Knowing when to worry is key.
Recognizing signs of skin infections
If your dog smells bad after a bath, check their skin. Look for red spots, hair loss, or sores under their fur. Skin infections cause a bad smell from too much bacteria or yeast.
Watch if your dog scratches or licks certain spots a lot. This means they might be uncomfortable. Crusting, discharge, or swelling means it’s time to see the vet.
When odor indicates an underlying health issue
Some smells mean your dog has a health problem inside. For example, dental disease can cause bad breath. If their ears smell bad, they might have an ear infection.
A natural dog odor eliminator helps with surface smells. But, it can’t fix deeper problems like metabolic issues or infections. If your dog is tired, eats less, or acts strange, see the vet fast. Early diagnosis keeps your dog healthy and happy.
Conclusion
Making your own grooming products is a rewarding way to keep your pet clean. You now know how to make a homemade dog spray. This keeps your furry friend smelling fresh.
Choosing to make your own pet care products gives you control. You know exactly what touches your dog’s skin every day. This means you can be sure your pet is comfortable and clean.
Begin making your first batch today. See how natural ingredients improve your pet’s life. Share your success with other dog owners who care about safe grooming. Your dedication to quality care will strengthen your bond with your loyal pet.


