How to Make DIY Cat Paw Balm to Protect Your Cat’s Paws
Your feline companion brings endless joy into your home. Yet, their sensitive feet often face hidden dangers. Whether walking on scorching summer asphalt or trekking across freezing winter ice, those delicate pads endure significant stress daily.
Protecting your pet from these harsh environmental factors is a vital part of responsible ownership. Many owners seek natural solutions that prioritize safety and comfort without using harsh chemicals.
Learning how to make diy cat paw balm provides a wonderful way to soothe dry, cracked skin. You can use simple kitchen staples. By choosing non-toxic ingredients, you ensure your furry friend remains healthy and happy during every season.
This guide simplifies the process, allowing you to craft a gentle ointment at home. Let us explore the best methods for keeping those precious feet soft, hydrated, and fully protected from the elements.
Understanding the Importance of Cat Paw Care
Your cat’s paws are key to their daily fun. They help your pet move around smoothly. Taking care of their paws keeps them comfortable and mobile.
Watching out for their feet can stop small problems from getting big. Simple cat health tips can keep your pet happy and active.
Common Paw Issues in Indoor and Outdoor Cats
Indoor cats face dryness from low humidity or harsh cleaners. Outdoor cats get hurt by rough surfaces, hot pavement, and ice. These can cause cracked pads.
Seasonal changes affect paw health too. Winter salt and chemicals can irritate their skin. Spotting these problems early is crucial for diy pet care.
Benefits of Using Natural Moisturizers
Natural moisturizers are great for soothing irritated skin. They create a protective barrier that keeps moisture in. This is important because cats groom themselves often.
Choosing natural, non-toxic ingredients is safe for your cat. Diya pet care lets you control what touches their skin. Following cat health tips helps their paws stay soft and strong.
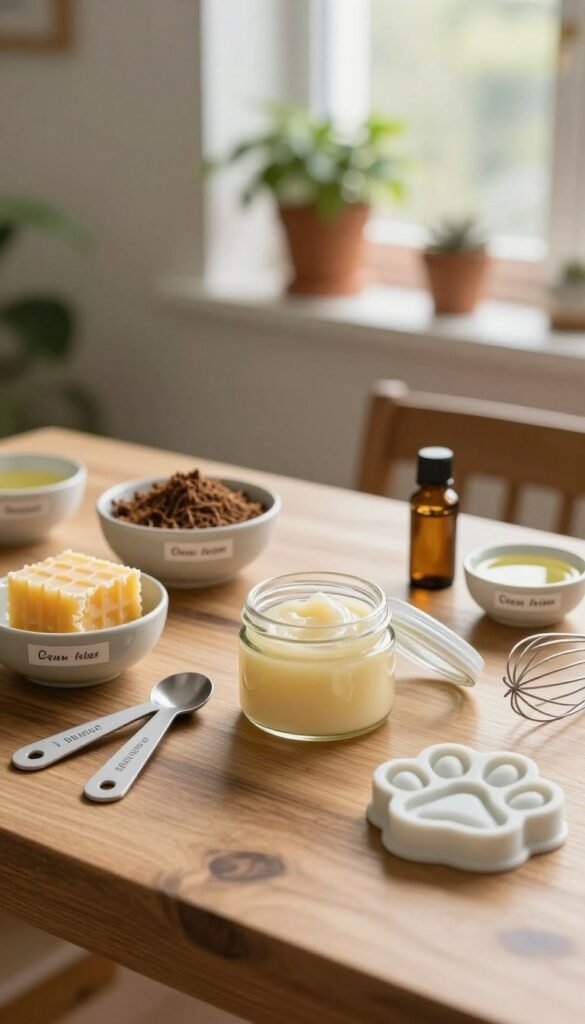
Essential Ingredients for Safe Cat Balm
Making a natural cat paw balm recipe means picking safe, quality ingredients. Cats often lick their paws, so everything must be safe and gentle.
Choosing Pet-Safe Carrier Oils
Carrier oils are the base of your balm. They add moisture to dry or cracked paws. These oils help other ingredients work well and keep the skin soft.
Benefits of Coconut Oil and Olive Oil
Coconut oil is great because it moisturizes deeply and fights bacteria. It dries quickly, so your cat won’t leave oil marks on floors.
Olive oil is also good. It’s full of antioxidants and vitamins. It softens rough skin and protects from harsh surfaces.
The Role of Natural Waxes
Waxes give your balm the right feel. A good organic paw balm should be firm but soft to touch.
Why Beeswax is the Gold Standard
Beeswax is the best for homemade pet products. It makes a breathable, protective seal that keeps moisture in and out.
Beeswax is natural and keeps the balm stable. It doesn’t melt easily, so your balm stays good for a long time.
Soothing Additives for Sensitive Skin
If your cat has dry or irritated skin, add special ingredients. These help heal and soothe the skin.
Using Vitamin E and Calendula Oil
Vitamin E helps repair and calm the skin. A little bit in your organic paw balm can make a big difference.
Calendula oil is also great. It calms sensitive skin. It’s perfect for cats with red or sore paws after walking on rough ground.
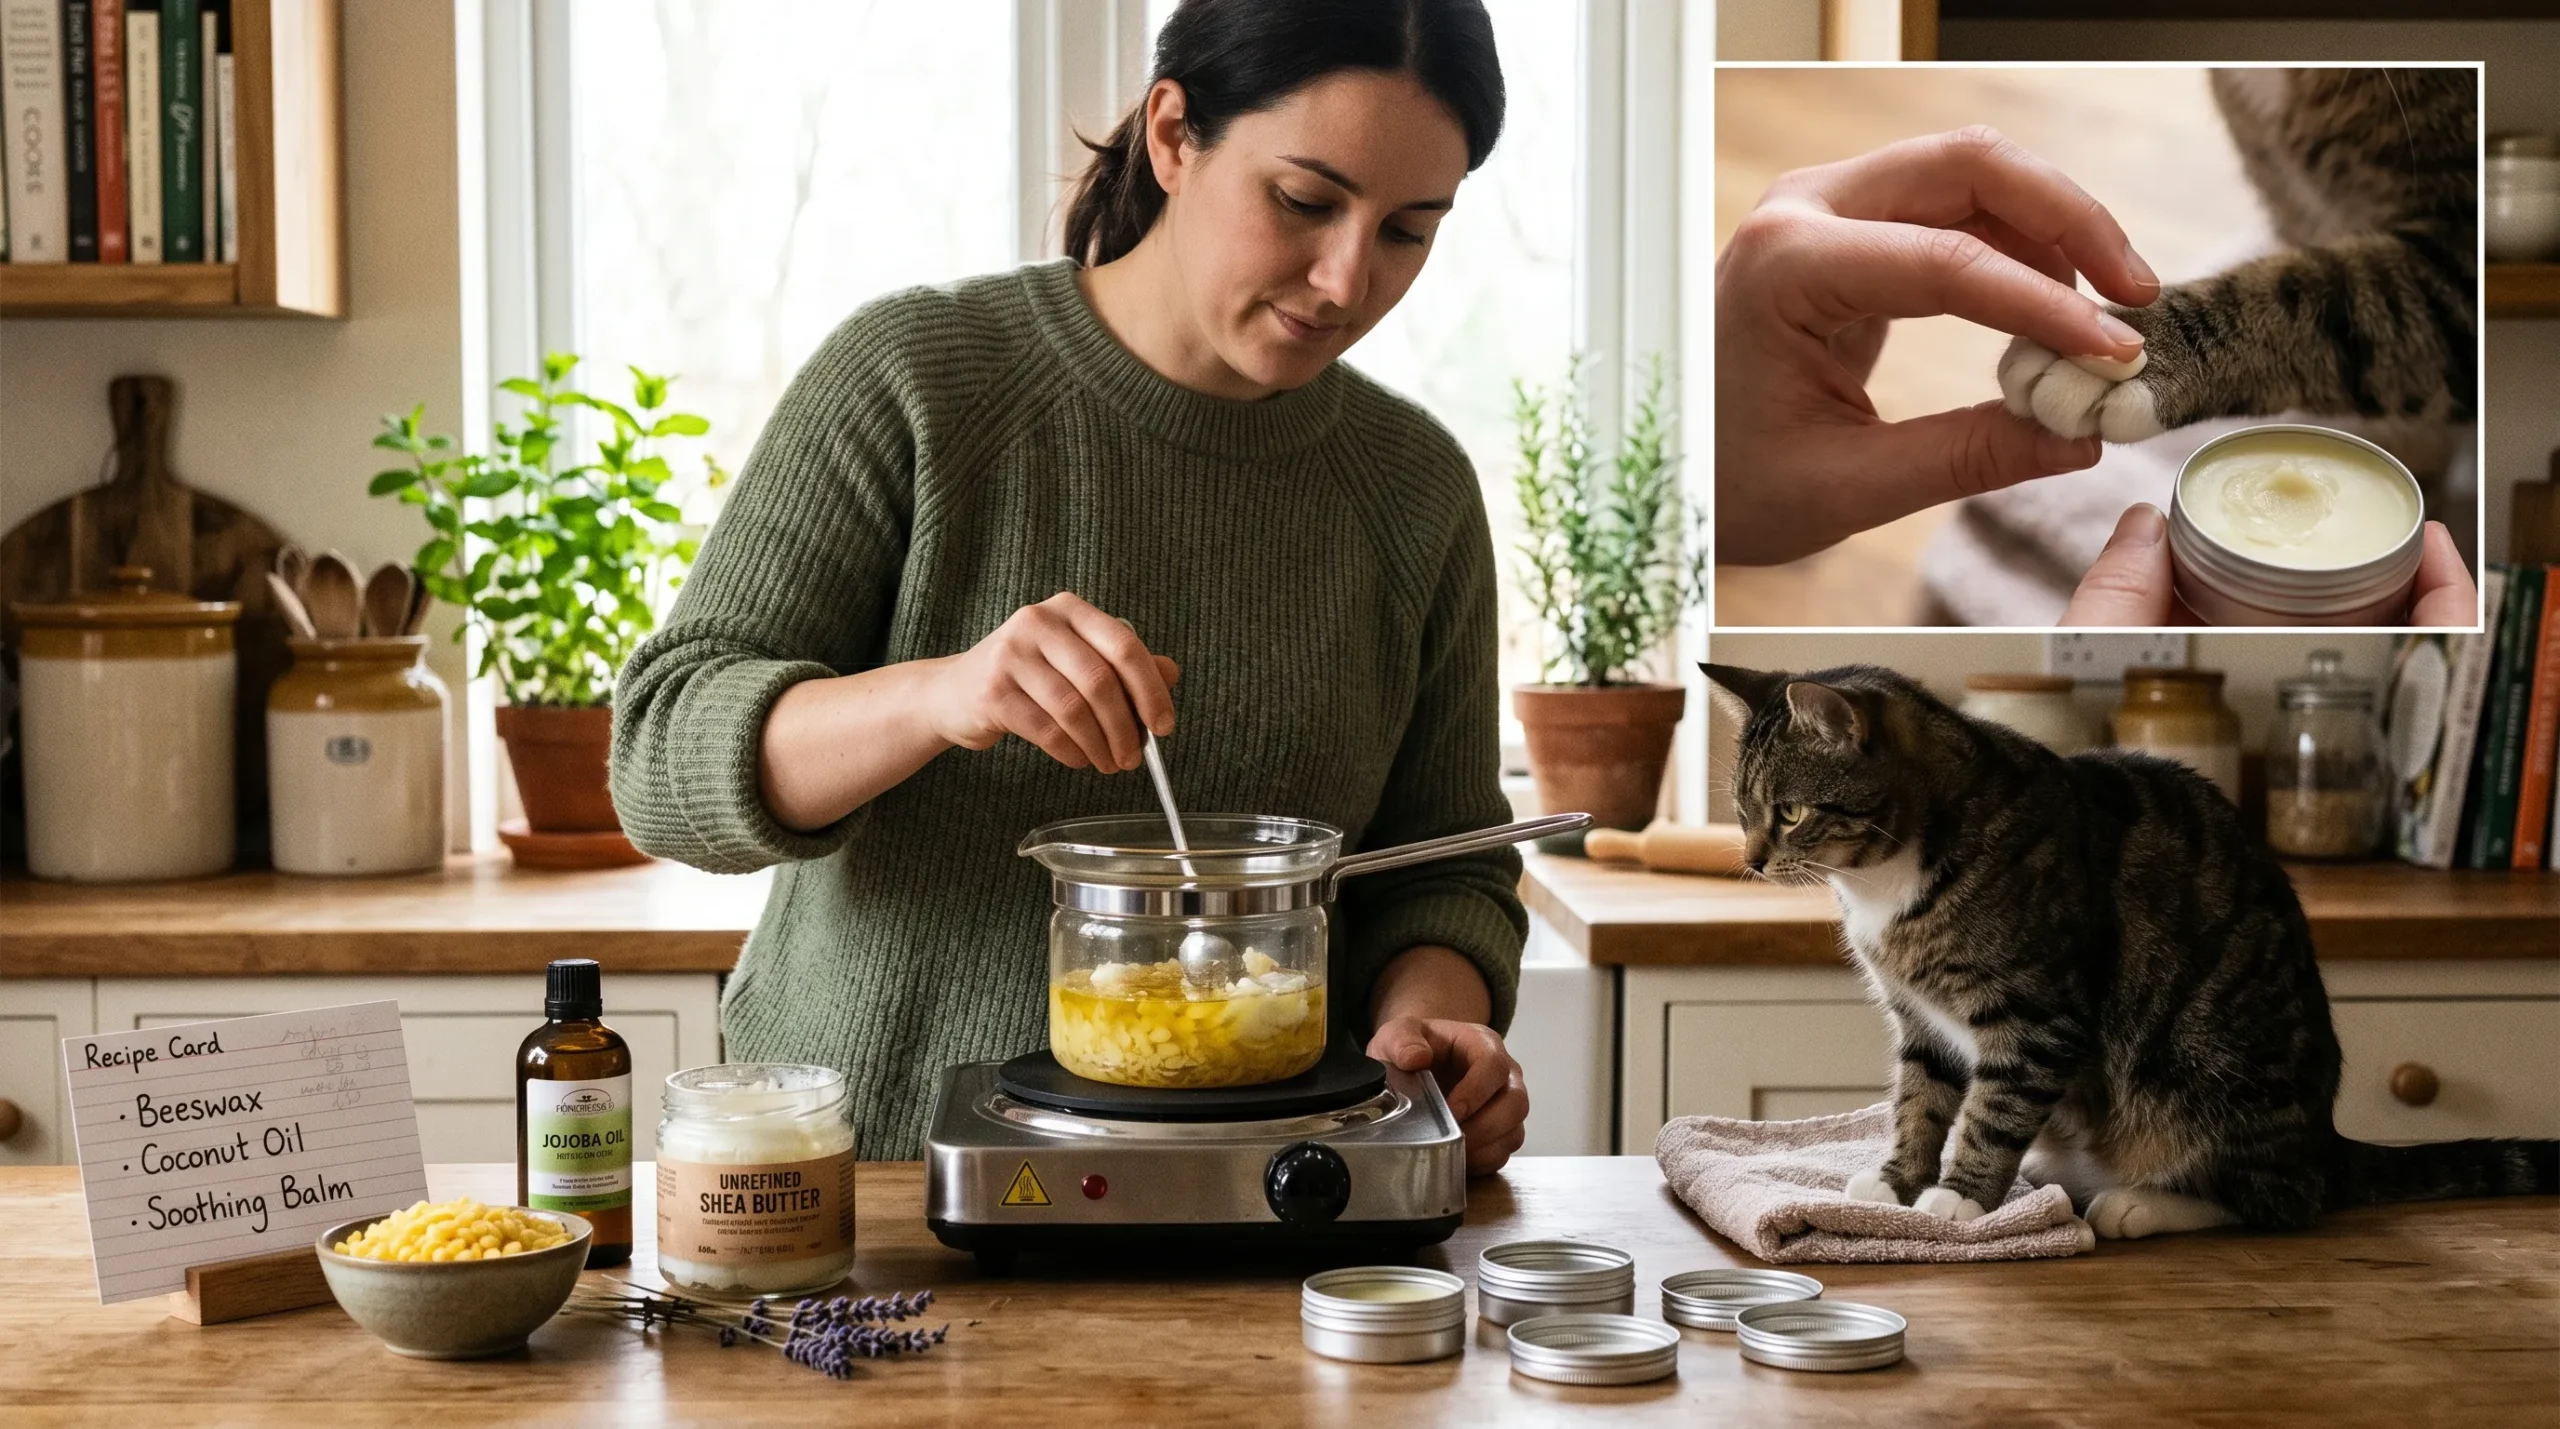
How to Make DIY Cat Paw Balm
Making a natural cat paw balm recipe at home lets you know what touches your pet’s skin. This simple process gives you gentle, effective care for your cat. You can make diy cat paw balm in your kitchen.
Gathering Your Equipment
First, get all the tools you need for a smooth process. You’ll need a double boiler or a heat-safe glass bowl over simmering water. Also, have a small whisk or silicone spatula for mixing.
Prepare small, clean tins or jars for your balm. Use heat-safe containers to avoid accidents. An organized workspace makes the process fun.
Step-by-Step Preparation Process
Making your homemade cat balm needs patience and detail. Follow these steps for the right texture for your cat’s paws.
Melting the Ingredients
Put your waxes and carrier oils in the double boiler. Heat it slowly over low heat until everything melts and is clear. Avoid high heat to keep the ingredients quality high.
Mixing and Cooling Techniques
After melting, take the mixture off the heat and add soothing additives. Pour it into your containers while still warm. Let it cool at room temperature until solid, about an hour.
Testing the Consistency
Check the balm’s texture after it’s set. It should be firm but easy to scoop with your finger. If too hard, remelt and add carrier oil.
If too soft, add more wax. This ensures the balm is comfortable for your cat to walk on. Your cat will surely appreciate the care you put into their paw health.
Safety Precautions and Ingredient Warnings
When you care about pet wellness, you learn about safe ingredients. Making your own pet products is rewarding but needs careful attention. Knowing what’s in your balm is key to diy pet care.
Essential Oils to Avoid
Many essential oils are safe for humans but not for cats. Cats can’t break down certain compounds in these oils. Always skip these oils in your homemade products:
- Tea Tree Oil
- Peppermint Oil
- Wintergreen Oil
- Citrus Oils
- Clove Oil
Why Tea Tree and Peppermint are Toxic
Tea tree and peppermint oils are very bad for cats. They have compounds that can harm a cat’s brain or liver. Even a little bit can make a cat drool, shake, or have trouble breathing.
Identifying Allergic Reactions
Every cat is different and may react in unique ways. Watch your cat closely after using the balm. Look for signs like too much licking, redness, swelling, or hives on their paws.
If you see these signs, clean the balm off with mild soap and water. Stop using the product right away if you think your cat is having a bad reaction. Watching your cat closely makes sure your pet wellness routine is good for them.
Consulting Your Veterinarian Before Starting
We suggest talking to your vet before starting any diy pet care. A vet can check your ingredients to make sure they’re safe for your cat. They can give advice based on your cat’s health and skin.
How to Apply Balm to Your Cat’s Paws
Learning to apply balm is a big part of diy cat grooming. Some cats might not like their feet touched at first. But, being calm and patient helps them feel safe.
By making this a positive experience, you can keep your cat’s paws healthy.
Preparing Your Cat for Grooming
Find a quiet place where your cat feels safe. Wait until they are sleepy or resting. This makes them less likely to pull away.
Gently stroking their legs before grooming helps them get used to being handled.
Techniques for Stress-Free Application
When you’re ready, hold their paw firmly but softly. Put a small amount of balm on your fingers and massage it into the pads. Consistency is key, so move slowly and steadily.
Distraction Methods During Treatment
If your cat gets restless, use a treat or toy to distract them. A lickable treat on a mat is a great distraction. This makes grooming a rewarding experience for your cat.
Frequency of Application
You don’t need to apply balm every day. For most cats, two to three times a week is enough. If your cat’s skin is very dry, you might need to use it daily until it gets better.
Storing and Maintaining Your Homemade Balm
Keeping your organic paw balm in good shape is key. It makes sure it stays safe and works well every day. Just a few simple steps can help keep your natural ingredients fresh.
Proper Container Selection
Picking the right container is the first step. Small metal tins or glass jars with tight lids are best.
- Use sterilized glass jars to stop bacteria.
- Choose shallow tins for easy use.
- Make sure lids fit tightly to keep out moisture and dust.
Shelf Life and Storage Conditions
Your homemade cat balm doesn’t have harsh chemicals. So, it needs a little extra care. Store it in a cool, dark spot, like a cupboard or drawer away from sunlight.
Heat can mess with the waxes and oils. This can shorten how long it lasts. But, if stored right, it should stay good for about six months.
Signs That Your Balm Has Expired
Keep an eye on your organic paw balm to make sure it’s still good. Even with good storage, natural stuff can go bad over time.
Throw it away if you see any of these signs:
- A rancid or sour smell that’s different from before.
- Visible mold or strange dark spots.
- A big change in texture, like getting too grainy or runny.
If you’re unsure, it’s best to make a new batch. This way, your pet gets the best care.
Conclusion
Looking after your cat’s paws strengthens your bond. Simple natural care makes your pet’s life better. It keeps their paws soft and strong.
Adding DIY cat grooming to your routine helps catch problems early. This way, you can keep your pet comfortable with trusted ingredients.
You can make safe, effective balms at home. Begin your natural care journey today. This will keep your cat happy and active for many years.
Share your success with other cat owners. Your commitment to quality care changes your cat’s life for the better.